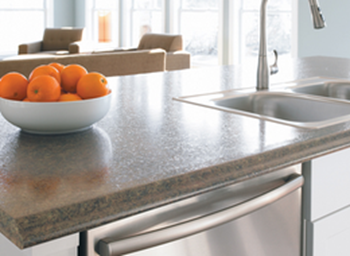
How to install laminate counter tops in easy steps.
Step 1
Determine and measure the space you want the countertop to cover, include the countertop overhang (usually 1inch). If the countertop sheet is too long you will have to cut it to fit.
Step 2
Measure and mark the appropriate size on the countertop sheet. Also mark the opening of a sink, if applicable, by using the sink template supplied with your sink. In case this is not available, draw the outline of the sink about ½ inch smaller than the sink’s rim (in case of an inset sink). Make sure you center the sink correctly on the base cabinet to determine the correct location.
Step 3
Place masking tape along the lines you want to cut and mark your cut line on the tape. The masking tape will prevent any chipping of the laminate surface.
Step 4
Cut the countertop to the appropriate size.
Step 5
Place the countertop on the base cabinets and align it as close as possible to the wall. Quite likely the straight cut countertop won’t fit closely along the wall. In this case, follow steps 6, 7 and 8.
Step 6
Clamp the countertop in place and using the scriber compass mark the outline of the wall onto the countertop. (Open the compass about ½ inch, run one leg along the wall and run the pencil leg along the countertop - marking the exact profile of the wall).
Step 7
Use your belt sander to carefully remove the excess material marked by the scriber.
Step 8
Test fit and do more sanding if required to fit the countertop to the wall.
Step 9
Install the countertop onto the base cabinets by applying carpenter’s glue to the tops of the base cabinet frames, then align and place the countertop onto the cabinets.
Step 10
Attach the countertop by using drywall screws and steel angels coming up through the cabinet framing to the underside of the countertop to hold the counter firmly in place.
Step 11
If the laminate countertop is unfinished at the sides, use side strips, which are available in the color of the countertop to finish off the edges.
Step 12
Apply a sealant along the seam between the countertop and the wall.
Installing a countertop with an L-shape
Step 1
Install a countertop in an “L” shape by putting together two pieces cut on 45-degree angles to be placed in the corner.
Step 2
Lay the two pieces upside down on a solid, level surface.
Step 3
Spread carpenter’s glue on the joining edges of both pieces.
Step 4
Install and tighten the joining hardware/fasteners enough to hold the pieces close together.
Step 5
Align the corners carefully and ensure the seam is smooth. This is a slow, iterative process: tighten a little, realign, tighten a little more and realign. It’s important that the corners line up and the joint is smooth.