DIY Kitchen Backsplash
A tiled kitchen backsplash is a great way to give your kitchen a personal touch and elevate the design of your home. Follow this video for all the advice, skills, tools and tips you’ll need to take on this intermediate DIY project. Happy tiling!.
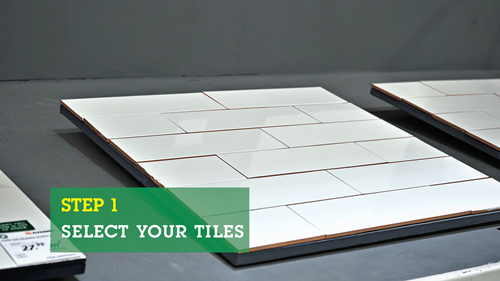
Step 1: Select your tiles
Select the right tile for your space. For a kitchen backsplash simple subway tiles or a sheet of smaller tiles works well.
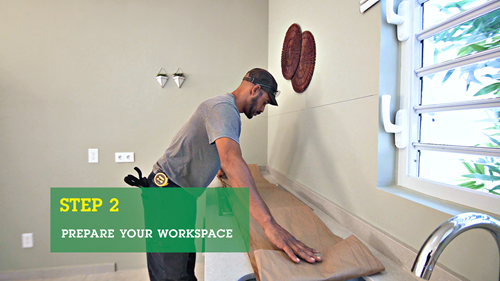
Step 2: Prepare your workspace
Prepare your workspace. Remove all objects from the counter and place a cover on your countertop to protect your kitchen from damage. Cut off the electricity in the kitchen and disassemble electrical sockets.
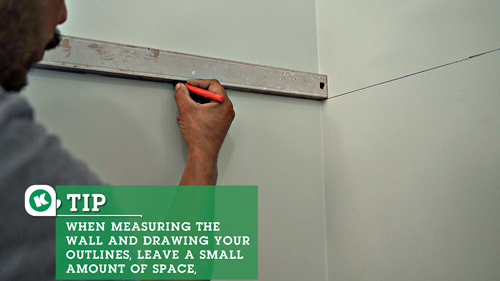
Step 3: Measure your space
Measure the space width and height and multiply, then add 10% to know the number of tiles you’ll need.

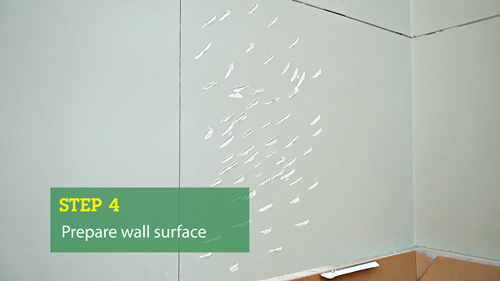
Step 4: Prepare wall surface
To prepare the wall use a tile hatchet to create divots in the wall along the areas you will be tiling to make a rough surface, allowing for better adhesion. Ensure that you keep these divots well within the measured area you will be tiling so as not to damage the surrounding wall. Using a putty knife to remove flaking paint and plaster to make it level for the tiles.
Tidy your space from debris as much as possible so that you have a clean, dust free space to begin the next stage of your project.
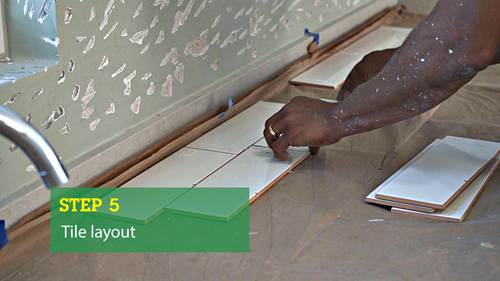
Step 5: Tile layout
Plan your tile layout depending on your tile type. You can choose from multiple ways to lay your tiles so that you can create the most desired final effect.
Step 6: Apply the tiles
Mix your tile adhesive following the directions on the packet, combining the powder with water in a clean bucket until you have the right consistency. Do a final wipe over of the prepared wall surface with a damp sponge, ensuring you have a good base to start working with.
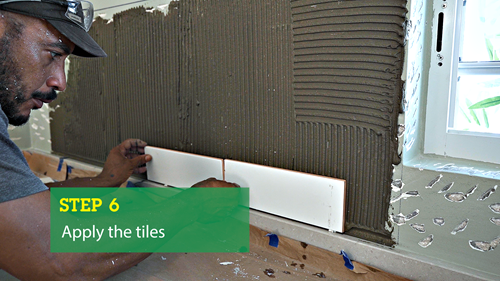

You are now ready to begin applying the tiles to the wall. Start by selecting a small section to begin with (generally around the middle outwards is a good place to start). Spread the tile adhesive onto the wall in an upward motion using the trowel, only applying the glue in small sections at a time.
Apply the tiles in your selected pattern, using the countertop edging as your guide. Insert tile spacers between the tiles to make sure you have even spacing.
For small or difficult to reach places apply the adhesive directly to the back of the tile with the trowel.
Cut your tiles according to corners and electrical outlets, taking your time with your measurements. We used both a tile cutter and an angle grinder for this project.
If you have corners such as this windowsill, you can use an L Profile that is the right size for your tile. Measure and cut to size with the angle grinder so that your window frame has a nice border. Using the adhesive, stick the L profile on the inside of the corner of the windowsill and then measure and cut your tiles to fit before installing.
Let your tiles dry overnight.
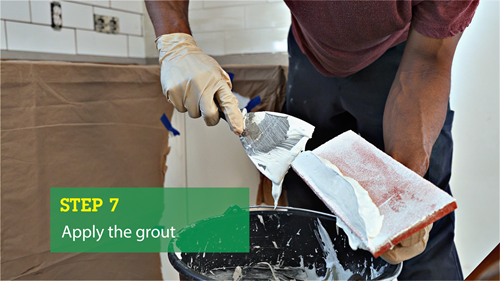
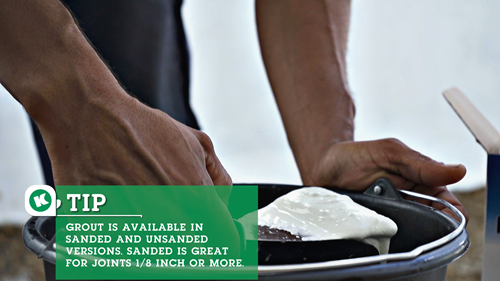
Step 7: Apply the grout
Pick your grout based on the tile you are using. In a clean bucket, mix the grout by following the directions on the package and pour the powder into a bucket, add water and stir until it's a peanut butter consistency.
Remove the spacers from the backsplash. Go over the tiles with a non-scratch scourer sponge to remove any remaining adhesive and clear the spaces between tiles with your putty knife. Wipe down the surface with a slightly damp sponge to remove any dust. Use your masonry float to apply the grout in sections, moving back and forth in order to push the grout into the spaces.
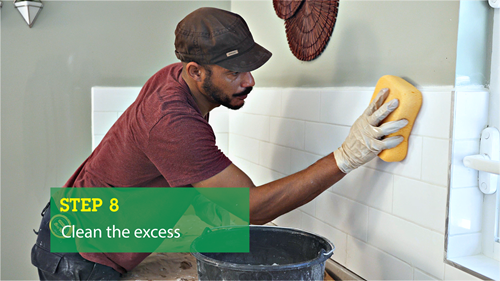
Step 8: Clean the excess
When you've finished each section, use clean water and a sponge to wipe off the excess grout on the tile surface, get off as much as you can. Make sure you have enough clean water to refresh the sponge regularly. This also smooths the grout.
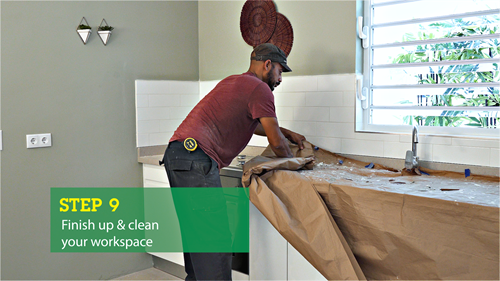
Step 9: Finish up & clean your workspace
Once the grout is dry, you can wipe off as much as you can using a clean microfiber cloth to give the last shine to your tiles. Screw back on your electrical sockets. Clear your work space removing the countertop cover and any dust or debris. Once you have a clear space you can use the color-matched caulk to fill all the edges and space between the counter top. Smooth it out with your finger for a nice finish.
You can now enjoy your kitchen’s new look!
Time Needed
2 days
List of Materials
- Tiles
- Grout
- L profiles to fit your tile
- Professional tile adhesive
- Tile Spacers 1/16 inch
- Markers
- Paper drop cloth
- Specialty masking tape
- Caulk (choose color that fits)
List of Tools
- Leveler
- Measuring tape
- Tile hand towel
- Masonry float
- Putty knife
- Tile hatchet
- Tile cutter
- Tile nipper
- Angle nipper
- Screwdriver
- Drill & grout mixing paddle (optional)
- Caulk gun
- Tile cleaning sponge
- Non-scratch scourer sponge
- Microfiber cloth
- Eye and ear protection
- Pair of gloves
- 3 Buckets


