Shopping cart
How to Prepare Surfaces for the Best Wall Finish
How to Prepare Your Wall Surfaces for the Best Finish
Whether you want to apply paint or wallpaper to your walls, it's vital that you first prepare the surfaces.
Although it takes some extra time, it'll be worth it. Not only will the wall finish prep work seal the new surfaces so fewer coats of paint are needed, but it'll also prevent the paint from sinking into the surface. In addition, the topcoat will adhere better and last longer as well.
Read on to find out how to prepare for wall painting finishes so you can get top-quality results.
Remove Old Wallpaper
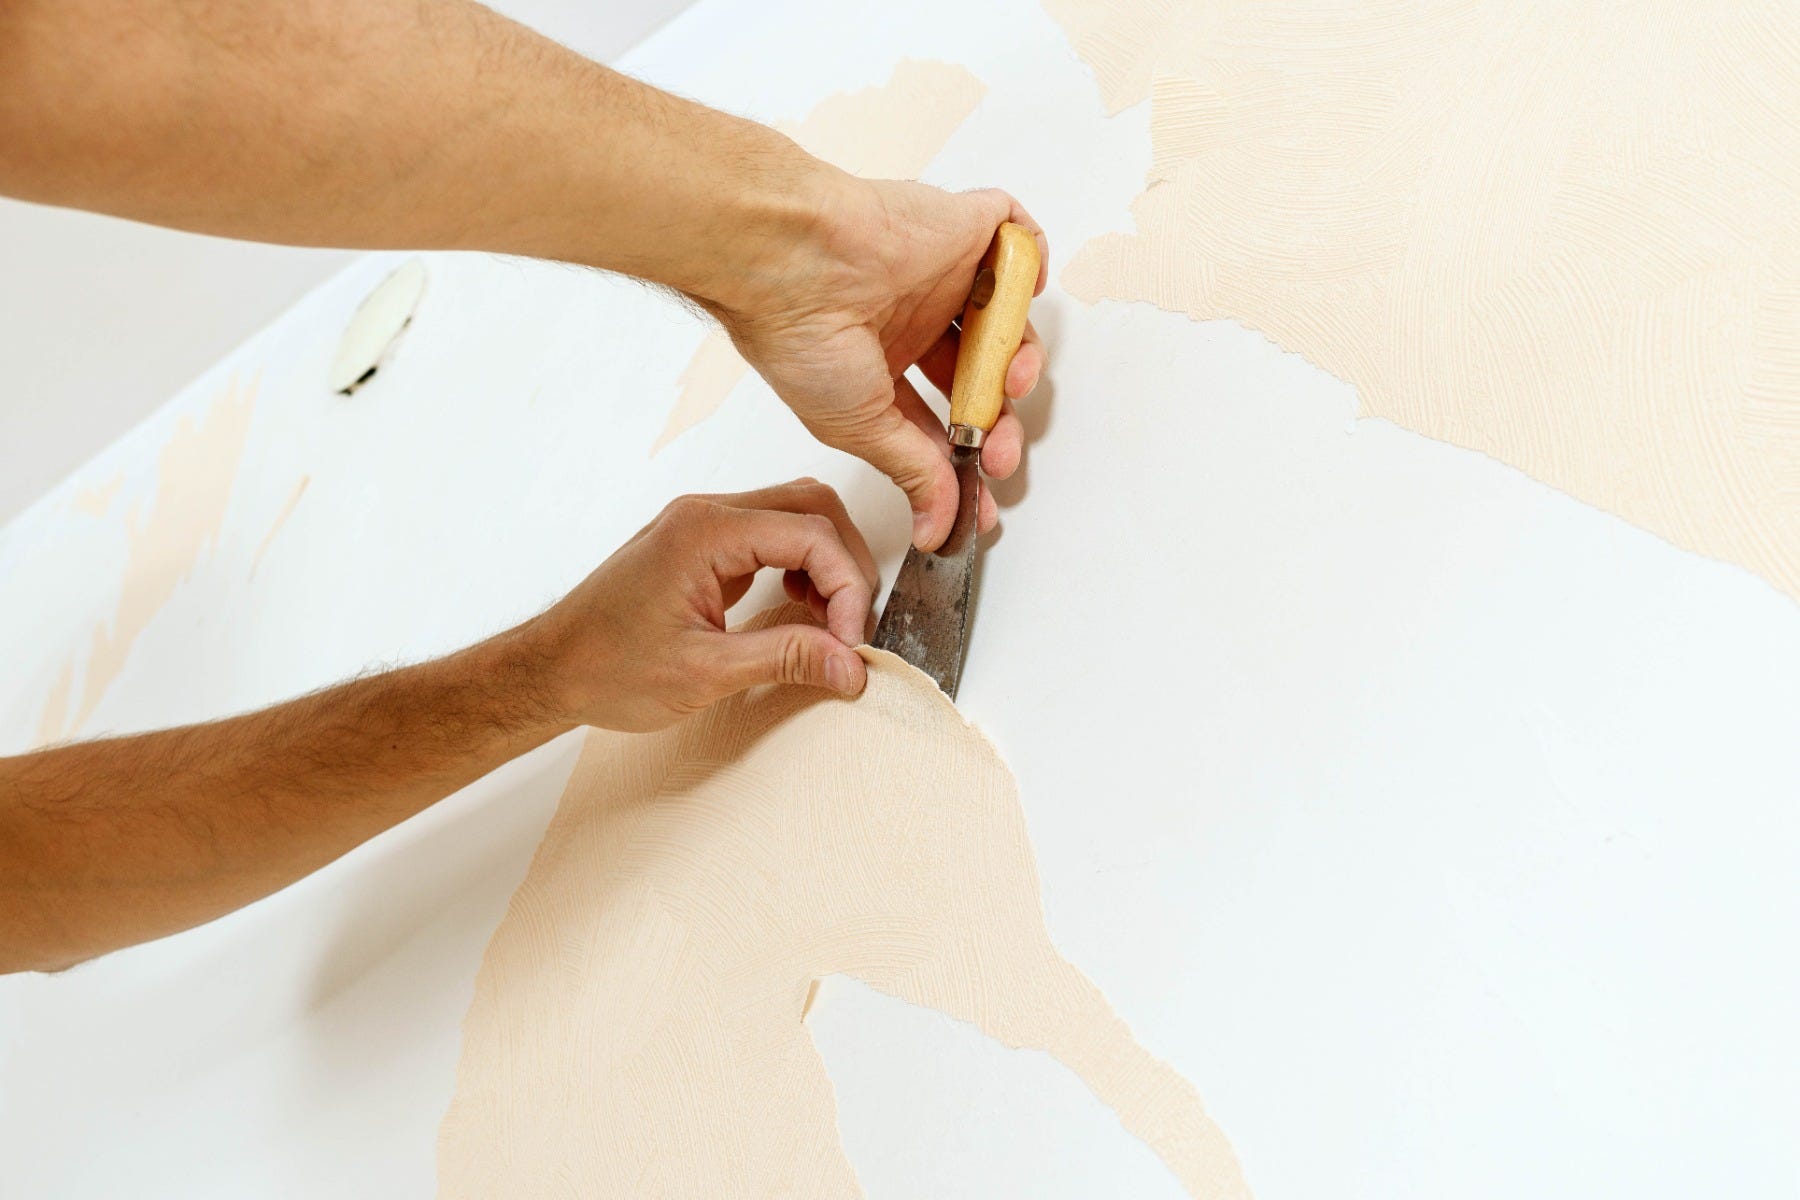
If you're lucky, then your existing wallpaper is in good enough shape that you can paint over it. However, wall paint finishes fare better if you remove the wallpaper first, especially if it's dark and you want to use a light-shaded paint over it.
Carefully score the old wallpaper with a wallpaper scorer or Stanley knife. Take care to avoid damaging the plaster beneath.
Next, dip a sponge in warm water and go over the wallpaper to soften it up. Remove with a stripping knife until you're left with a bare wall. You can also use an electric steam stripper to expedite the process.
Clean the Walls
You need to start with the cleanest surfaces possible before applying any paint or wallpaper. Grab a stiff brush to thoroughly clean the wall, starting from the top. You can also use a vacuum to suck up things like dirt, dust, and cobwebs.
If you've just plastered your walls, then ensure they're dry before applying wallpaper or paint finishes for walls. Use a scraper to eliminate extra plaster edges and some sandpaper to smooth it down. You can then brush or vacuum away debris.
Seal Newly Plastered Walls
As we've mentioned earlier, you'll use fewer coats of paint if you prepare wall surfaces with a sealer. It'll also add protection to your walls and provide a smooth surface, resulting in even-looking paint.
Patch Plaster on Old Walls
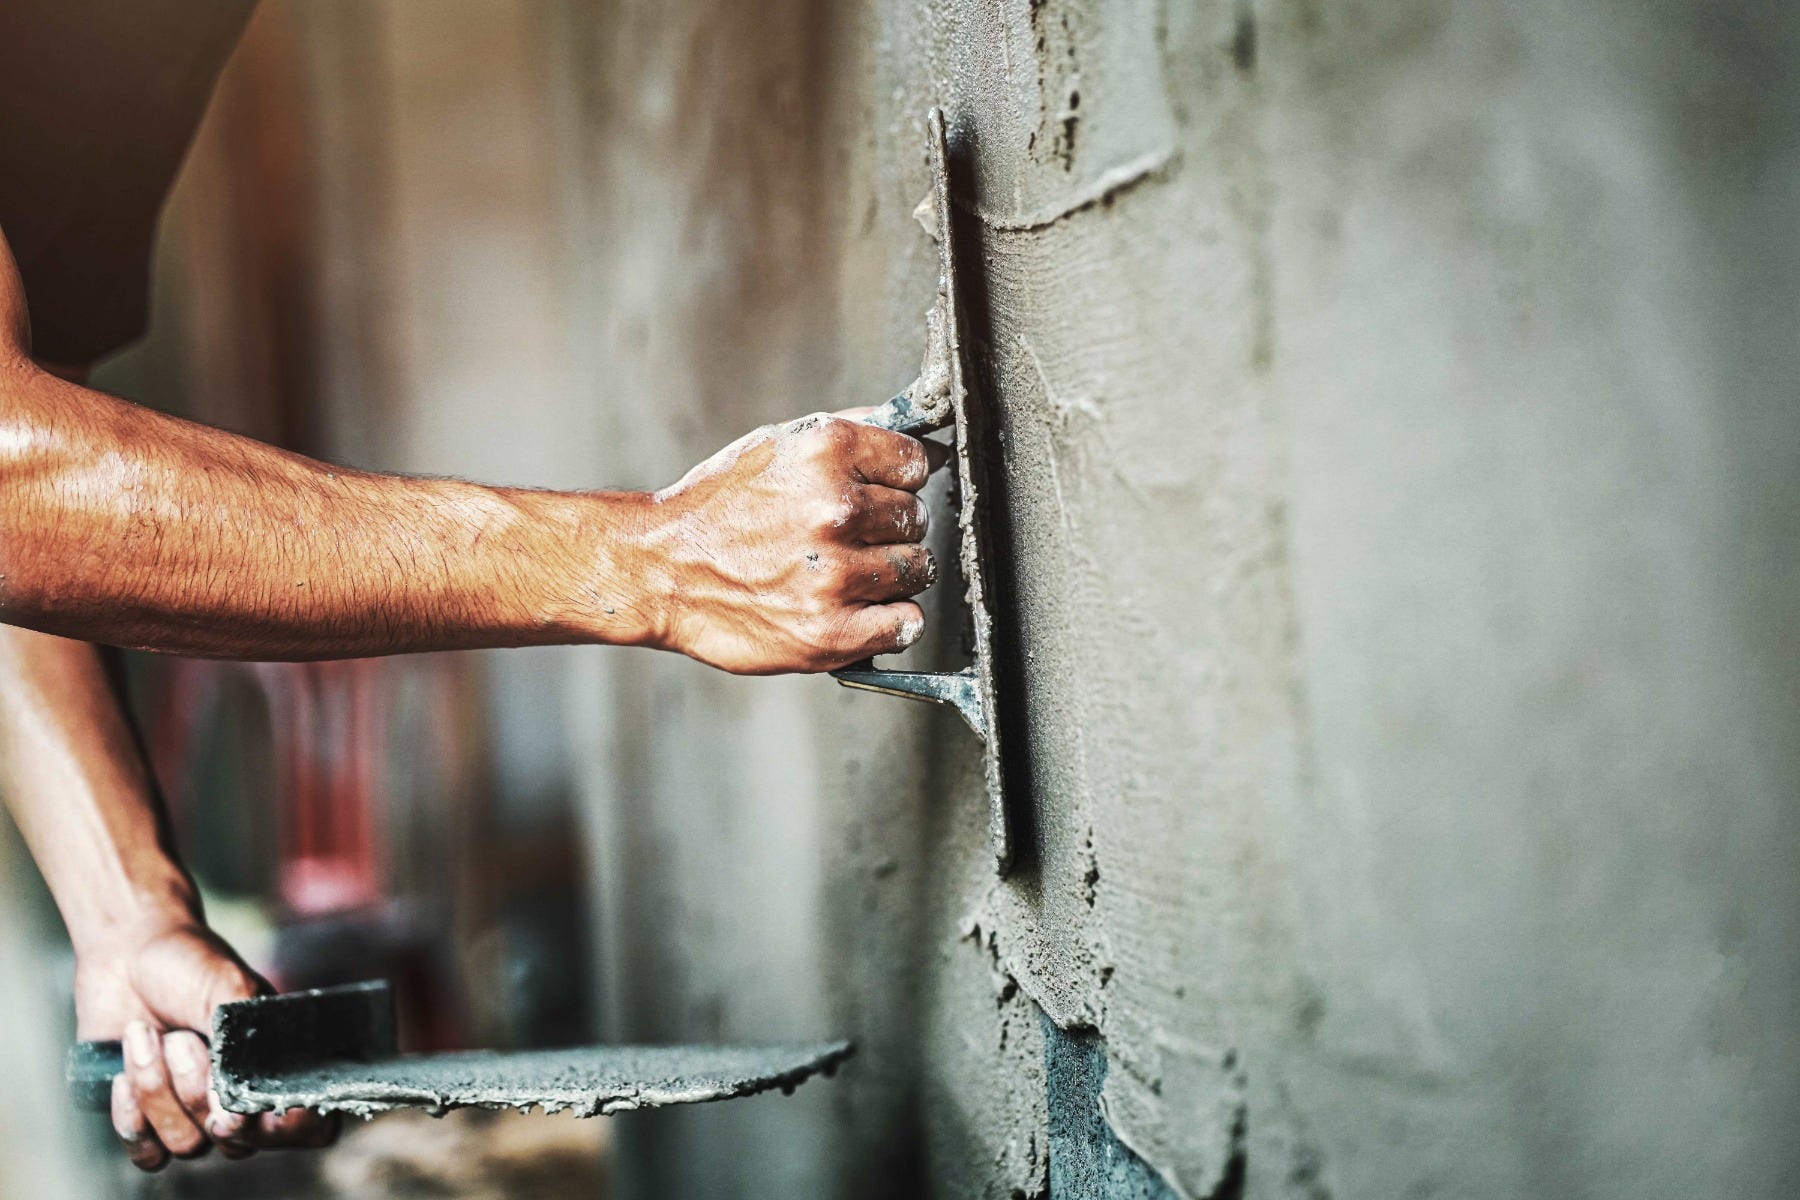
Chances are, imperfections have appeared on your walls over time. Ideally, you should patch up cracks and create an even surface before you apply a sealer or primer. That way, your walls will look as good as new after the topcoat's dried.
With a filling knife and all-purpose filler, go over all blemishes. Use the knife to smooth down your work, then let it dry properly. Once the filler's dried, sand everything down, then vacuum up the dust produced.
Sealer and Primer Tips
You may be on a tight timeline, but never rush the drying process for sealers and primers. If they aren't dry before you apply the topcoat, then you can experience issues such as wrinkling and blocking.
In general, try to avoid painting under direct sunlight and rainy conditions. If you must paint in unfavorable weather, then allow for extra drying time.
If the walls are located in an area with high moisture, then utilize a water-based or solvent-based masonry sealer to prevent efflorescence and mottling. To keep frosting at bay, use an alkyd-based primer.
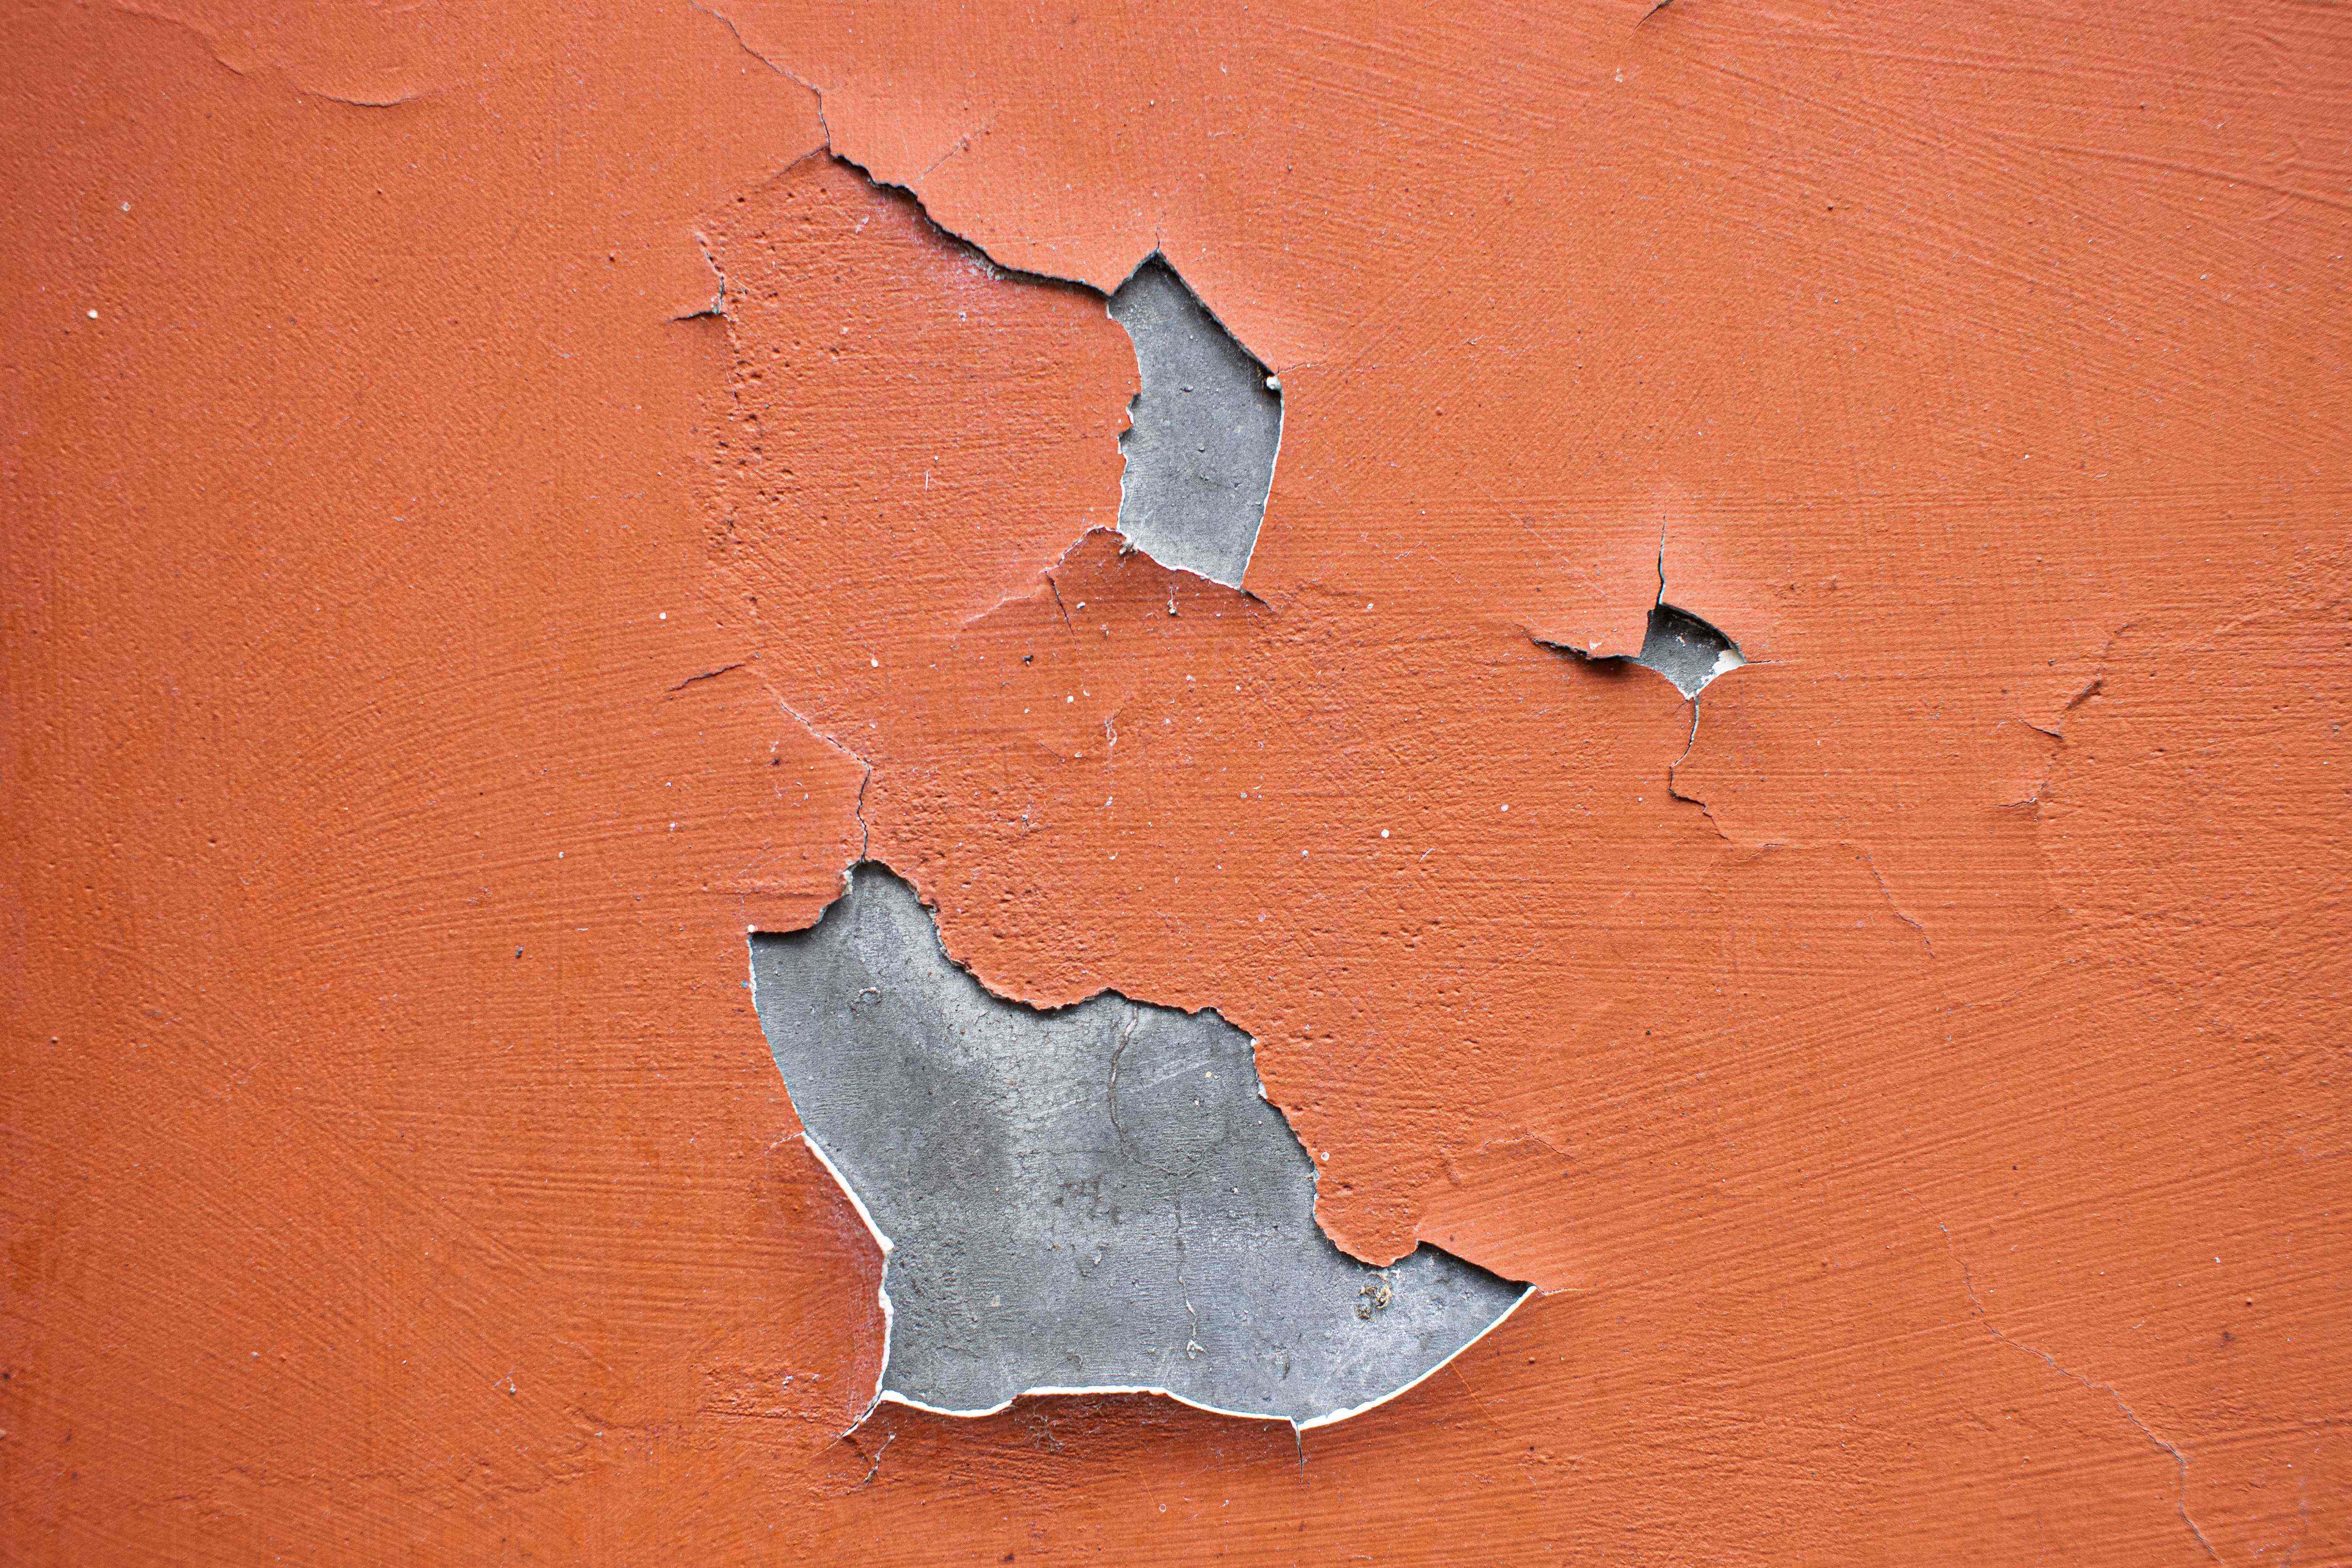
Always apply an exterior primer on all bare wood surfaces to stop paint from peeling. And if you're working with galvanized metal, use acrylic or alkyd primer before painting over it.
Shop our paint and sundries for everything you need.
Colors of the Caribbean
Now in its second successful year, the Kooyman "Colors of the Caribbean" project celebrates our local communities with a series of vibrant murals.
Top 6 DIY paint tips that everyone should know
Buy all the paint supplies you need, in-store or online.
Relaxing paint colors to use for your home
Does your house need fresh coats of paint? Then make things as cozy as possible. These are the relaxing paint colors you should choose.
Top 6 DIY paint tips that everyone should know
Are you planning on refreshing your home's paint? Then here are the top DIY paint tips you should use for your next project.
How to paint your front door
Read on to see how to paint your front door for quality results.
How to prepare your wall surfaces
Taking time to prepare your surfaces will result in the best wall finish possible. Find out what steps you should take for optimal outcomes.


