Shopping cart
Protect your outdoor wood
December 07, 2022
With the intense tropical sunlight and Caribbean climate on our island, protecting your outdoor lumber is a must.
Whether it’s your porch, fence or outdoor furniture, a good wood stain protection will help to enjoy your lumber longer and keep it beautiful.
There are so many options to choose from, but for outdoor projects and maintenance for your fence or a deck, stain is your best option.
Time needed
- 4 hours
Tools
- Sander
- Pressure washer
- Large natural bristle brush
Materials
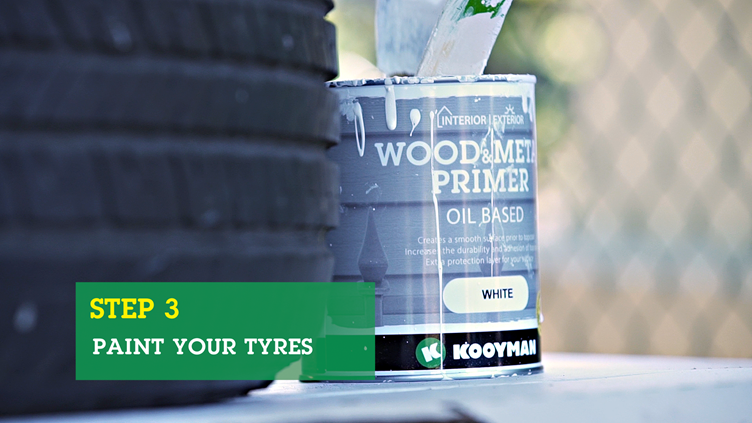
- Clear stain
- Semi- transparent stain
- Solid stain
- Semi- solid stain
- Roller
- Roller tray
- White spirit
- Spray paint
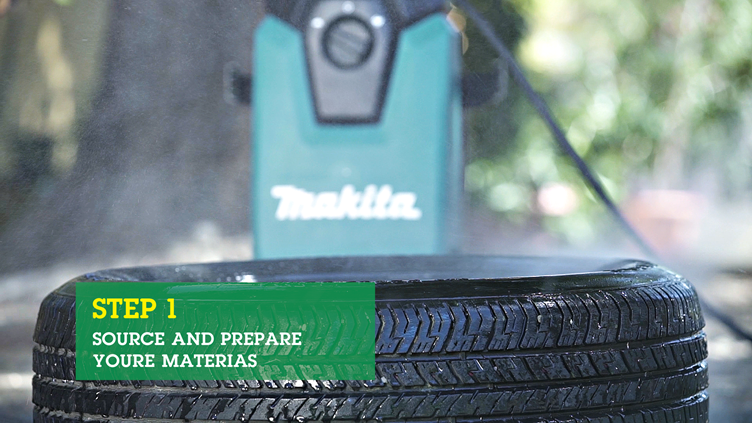
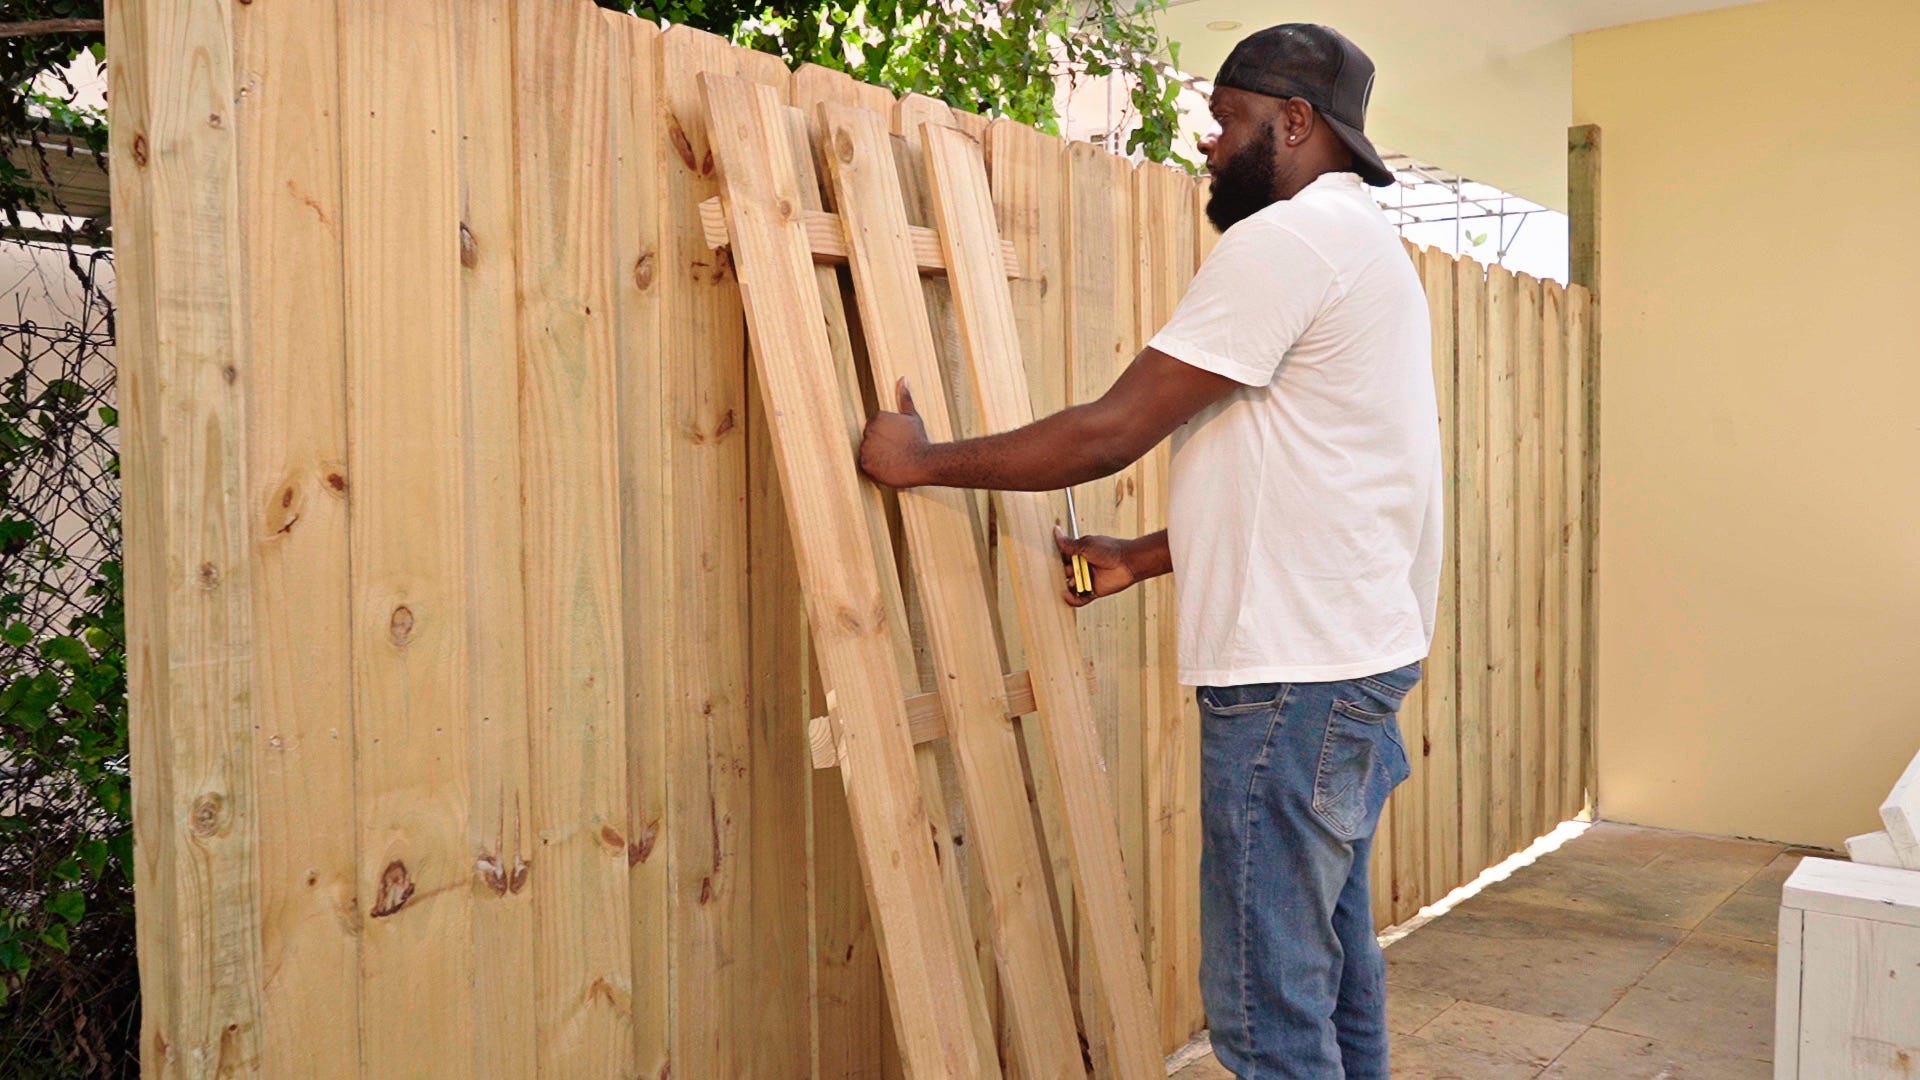
Step 1: Prepare your workspace
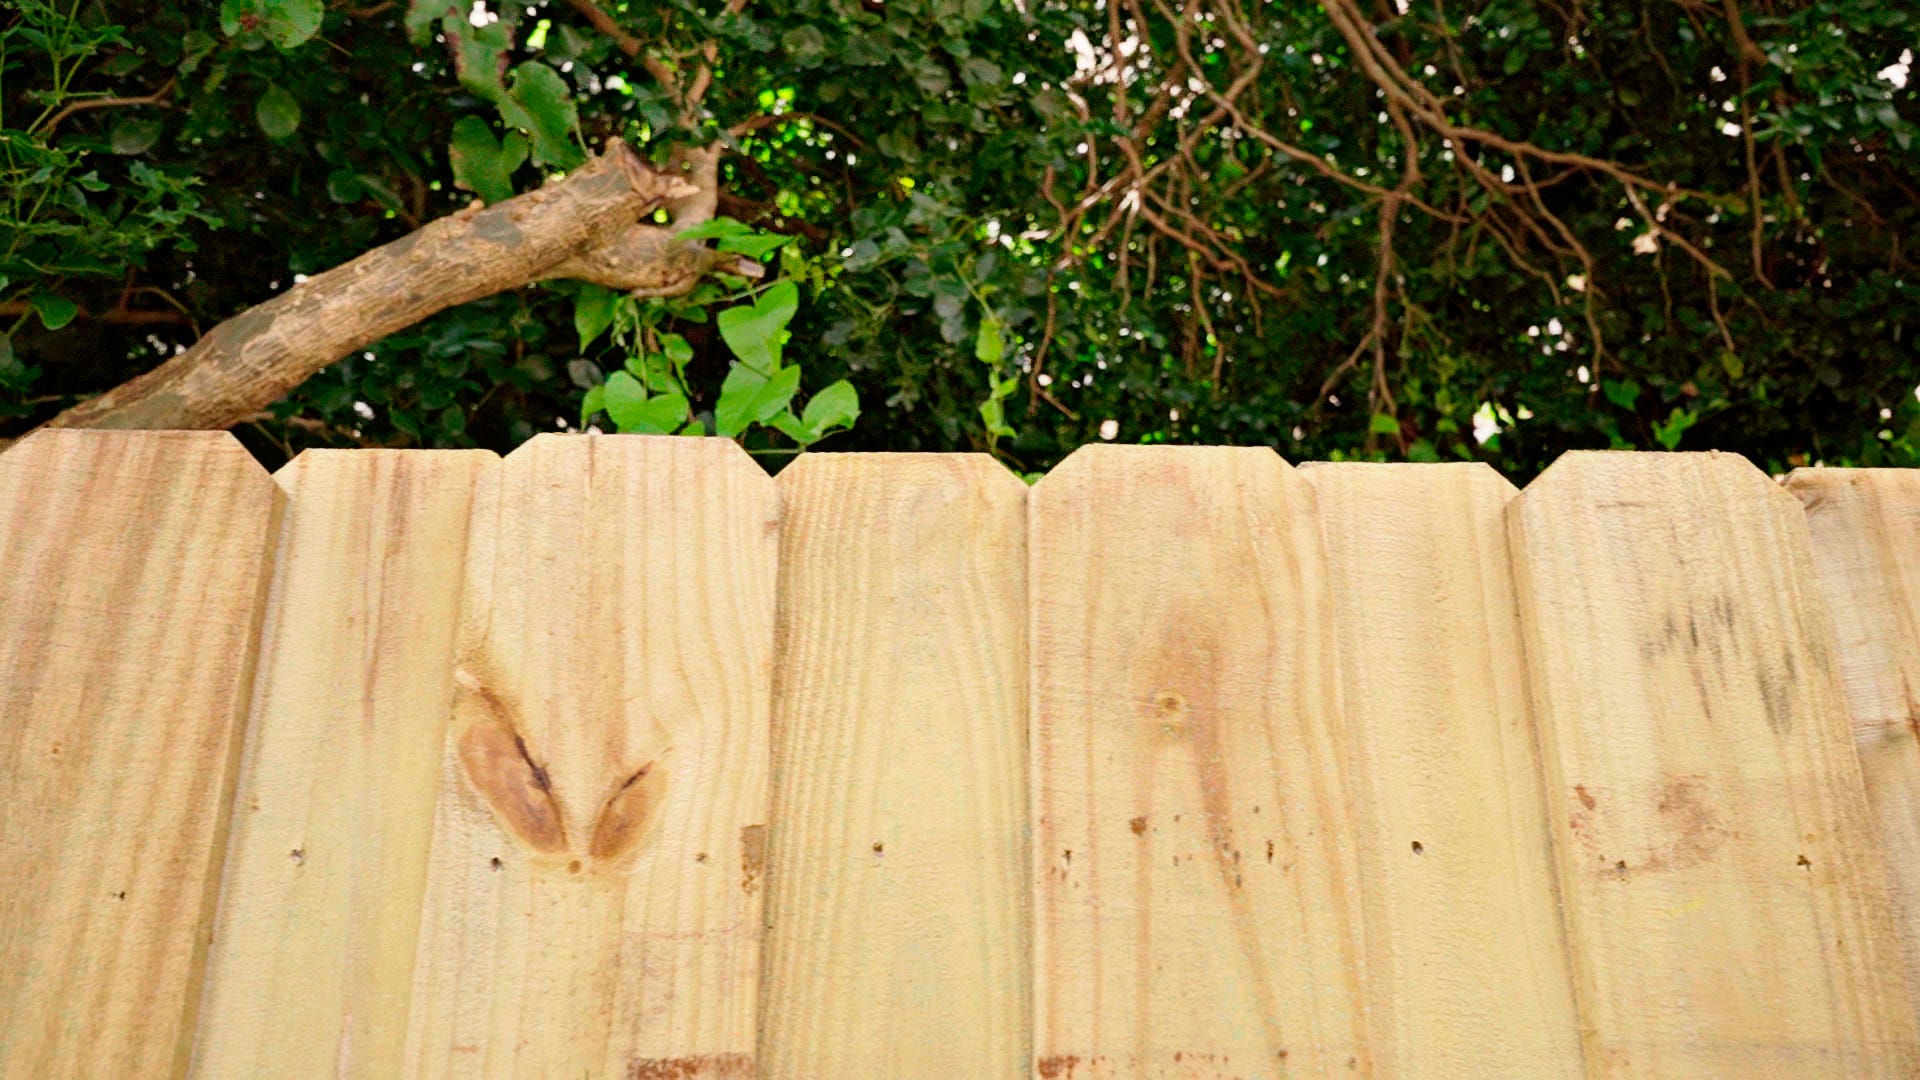
We are going to protect our fence but the same applies for your deck or other outside lumber.
If you want to know more about building a fence, please watch our tutorial about making a fence on our channel!
First of all, make sure your lumber is clean. If there is an old layer of stain on it, sand your fence with a 150 grid sand paper or use a pressure washer to clean your fence and take off all the dirt so the new layer will hold better and can really soak in the wood. Make sure you clean the fence to get rid of any oils with a fence cleaner or white spirit, ensuring that the stain will soak better into the wood. Then brush the surface clean of any dust with a brush of cloth.

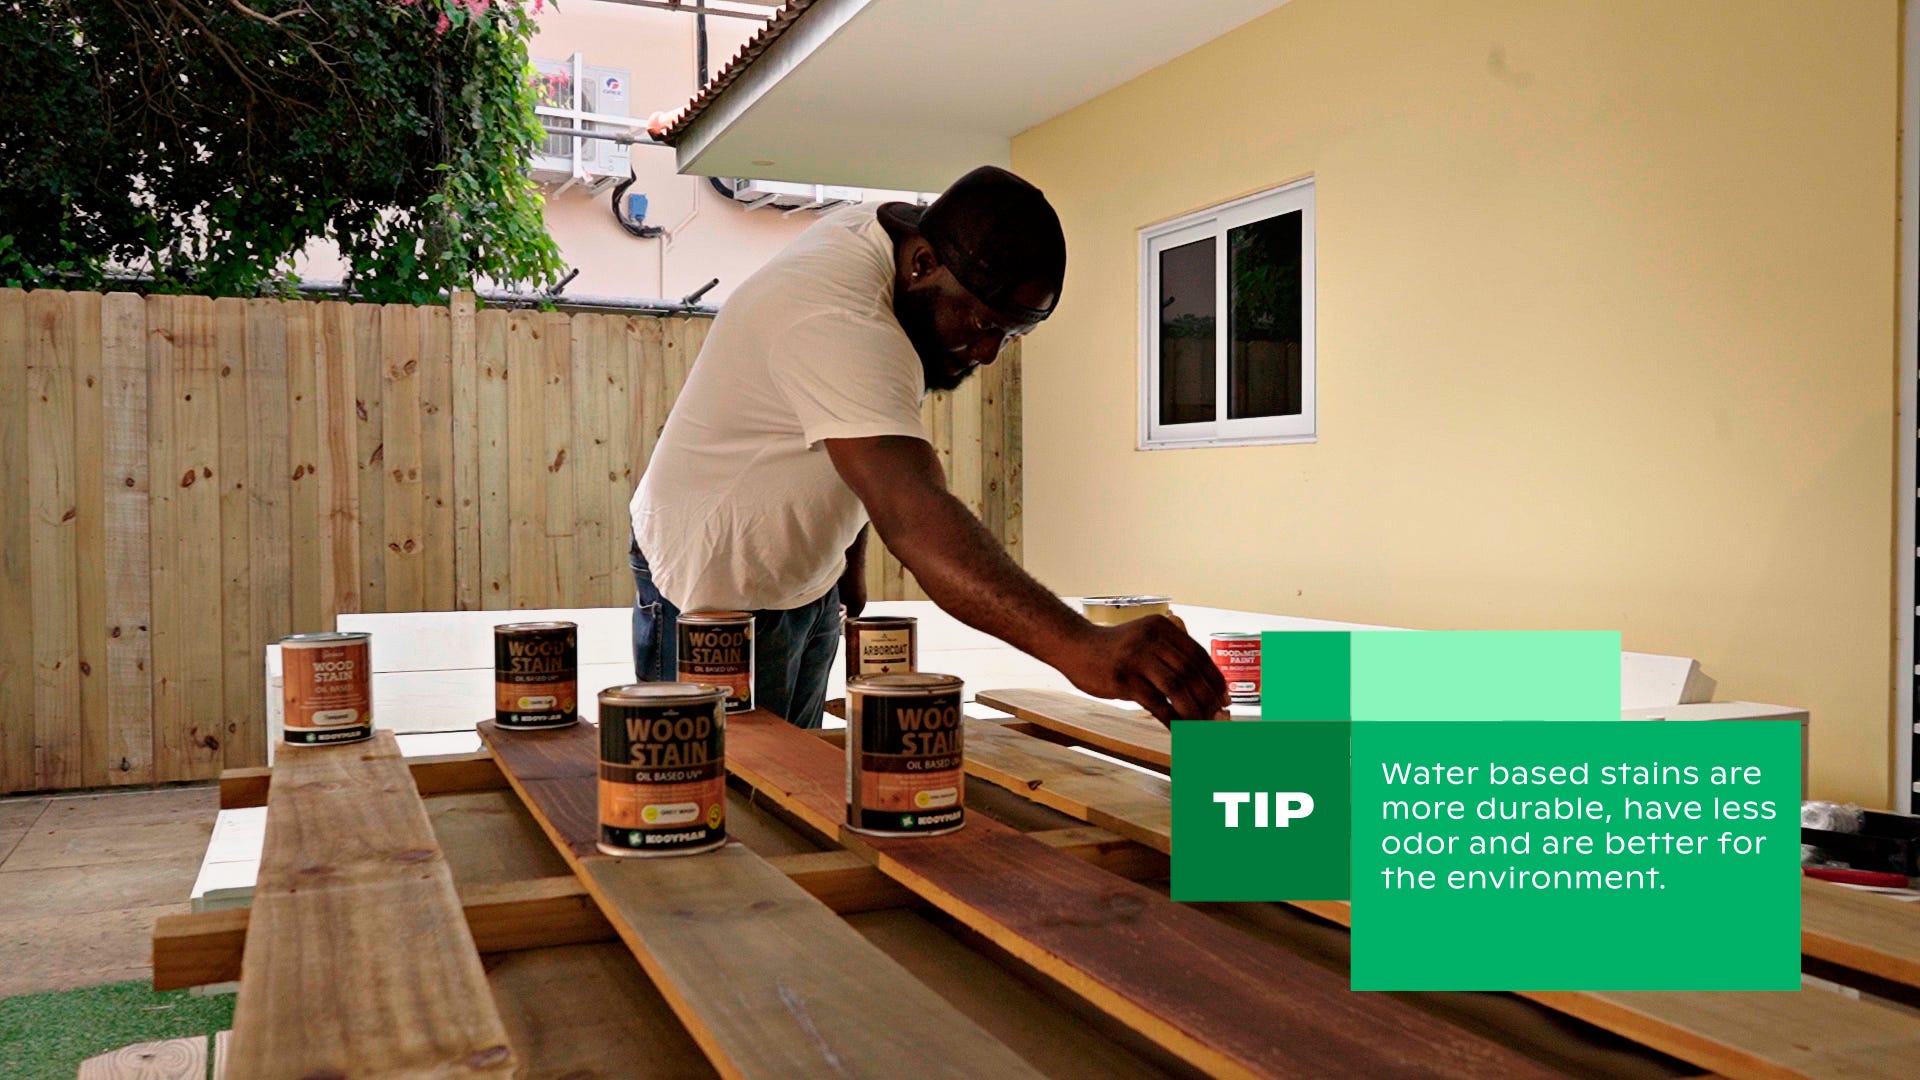
Step 2: Choose your paint
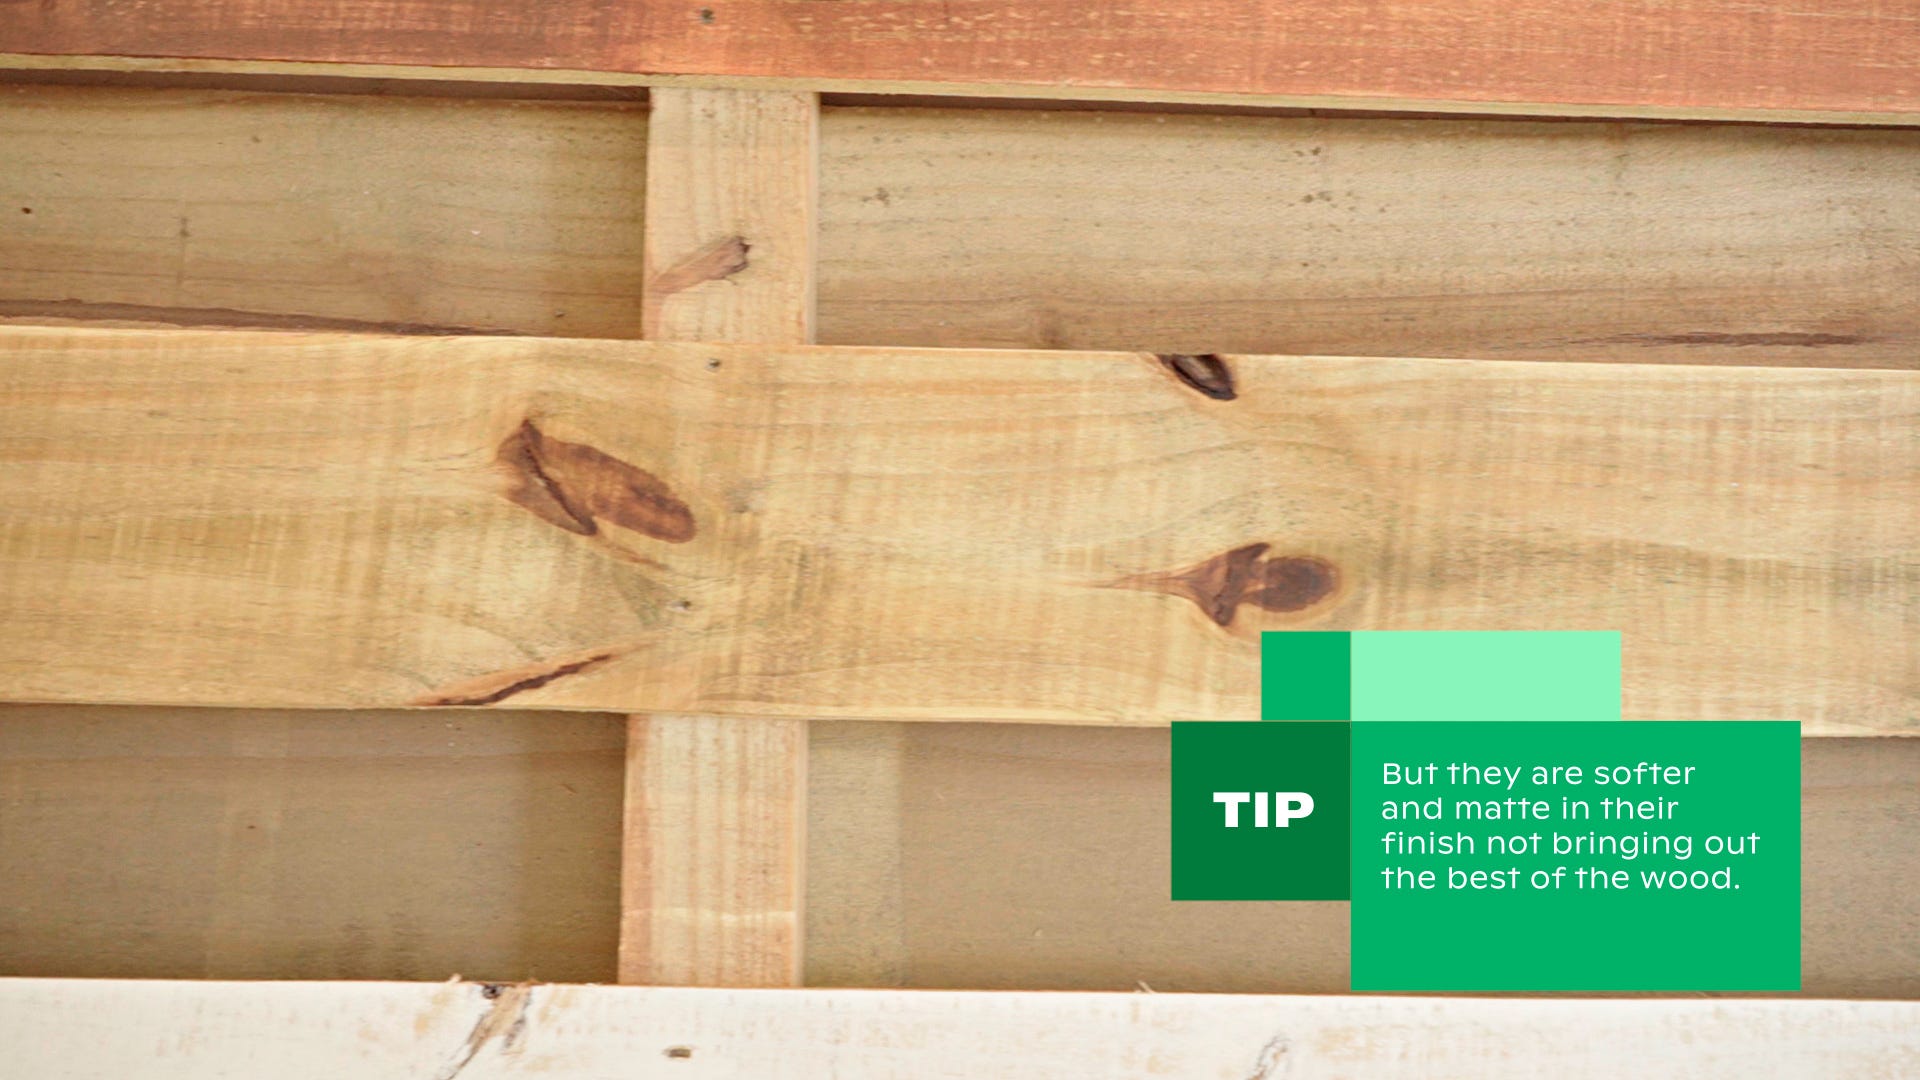
There are different types of stain you can use for your outdoor wood. If you have a really clear stain it will show more of the wood grain, but it will not protect as well as a solid stain or paint.
Clear stains are designed to change the color of the wood, while leaving the grains still visible.
They soak into the wood and give protection from moisture and other elements but need to be re-applied more often than solid paints or stains.
Stains are available in different wood colors like oak, red wood and mahogany.
Semi transparent and semi clear stains are the middle part of the stains
The more you go to the solid paints or stains the more protective it is against uv. It also lasts the longest of them all. These are available in every imaginable color, but keep in mind that this hides the natural grain of wood.
Last but not least; There are water based and oil-based stains.
We chose to use oil based stain, they have a better-oiled look, have longer drying times and need regular maintenance.

Step 3: Test your stains and color
The color also depends on your type of lumber. We recommend first testing your desired stain color on a piece of leftover wood from the same material as your project and let it dry to see if this is the color that you want before you apply it to your the actual project that you want to paint.
If the color is too bright you can mix it with some paint thinner or white spirit to flatten the color out. If the color is too dull just add another layer of stain, this will increase the intensity of
your color.
After letting this dry for 30 minutes, you can choose the finish and intensity to your liking. You
can start mixing in the amount that you need for your project in the right ratio of stain to paint
thinner. To be sure that the entire surface of the project has the same stain intensity, try to mix it
all at once. You can do a last test on your leftover wood before you start to apply the stain to the
wood.
Step 4: Applying your stain
Place some protective material under the fence to ensure a clean floor after you are done.
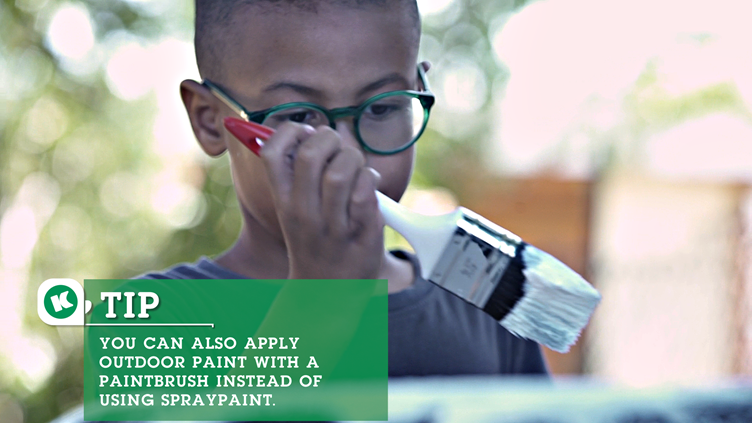
Now you are ready to apply your stain. You can use a roller, brush or a paint sprayer to cover more ground. Remember that when choosing a paint sprayer, you cover all the walls and other materials you don’t want paint on, this is to avoid an overspray.
Now our fence is protected. Now don't forget to reapply in time and remember, for extra
consultation about stains there is always someone in a Kooyman store happy to help.