Shopping cart
Build Your Own Bench
March 04, 2025
Build Your Own Bench
Looking for a simple, functional, and stylish bench seat? Whether you're making your outdoor space more practical or just need extra seating at home, this DIY project is the perfect solution. In this workshop video, Ulric walks you through the step-by-step process of building your very own bench seat. A quick and satisfying project that you can easily complete with just a few tools and materials.
Check out the video below and follow along! Everything you need is listed underneath the video, as well as all the steps you need to take to create your own bench.
Materials & Tools You’ll Need
Tools
- Measuring tape
- Pencil
- Hand saw or circular saw
- Drill
- Sandpaper (80 or 120 grit)
- Sandpaper block or electric sander
- Painter roller
- Paint tray
- Protective gloves
- Protective glasses (if you’re using the circular saw)
Materials
- Wood screws (3 inch / 7.62 cm)
- Stain or paint
- Lumber (2x4)
- 3 pieces (35,43 inch / 90cm) – for the seat
- 4 pieces (10,24 inch / 26cm) – for the legs
- 4 pieces (16,14 inch / 41cm) – for the legs
Not in the mood to cut the wood yourself? Head to your local Kooyman store where they can cut the lumber to the exact sizes for you!
Step-by-Step Guide
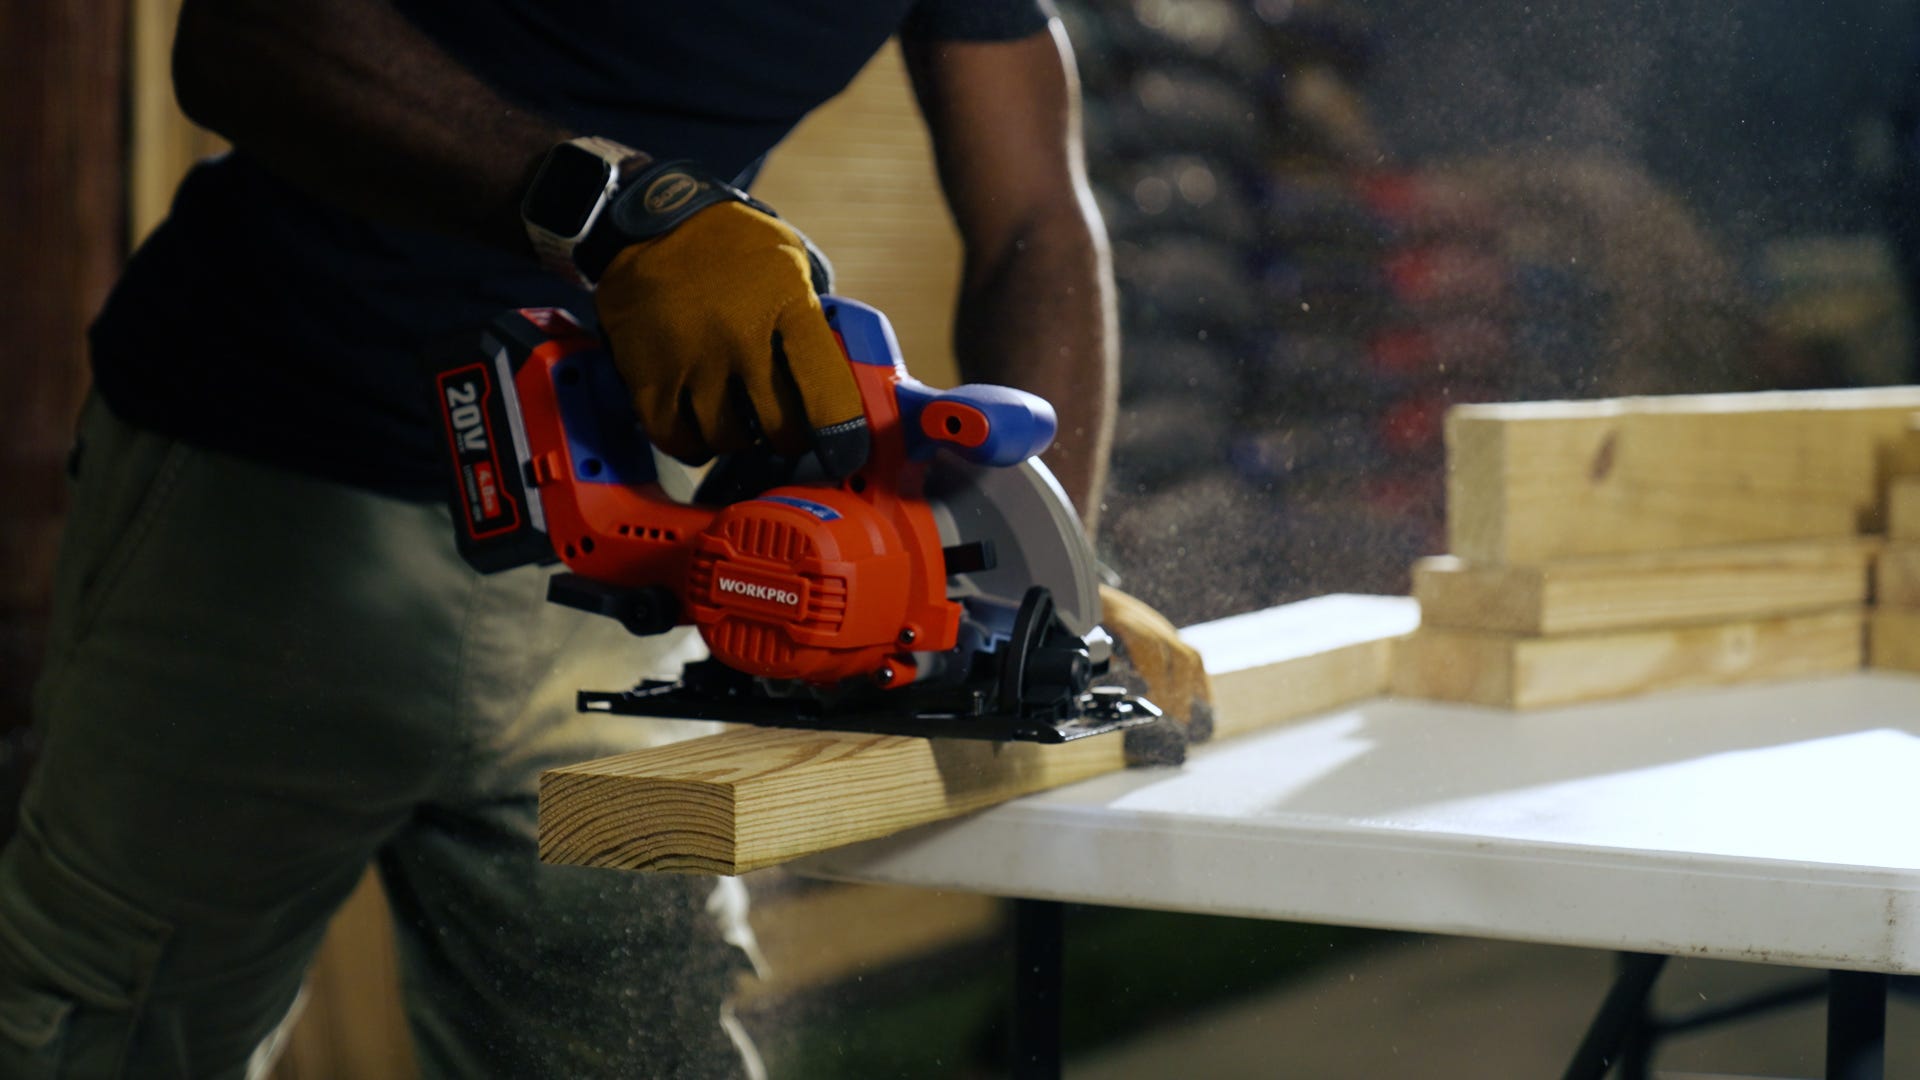
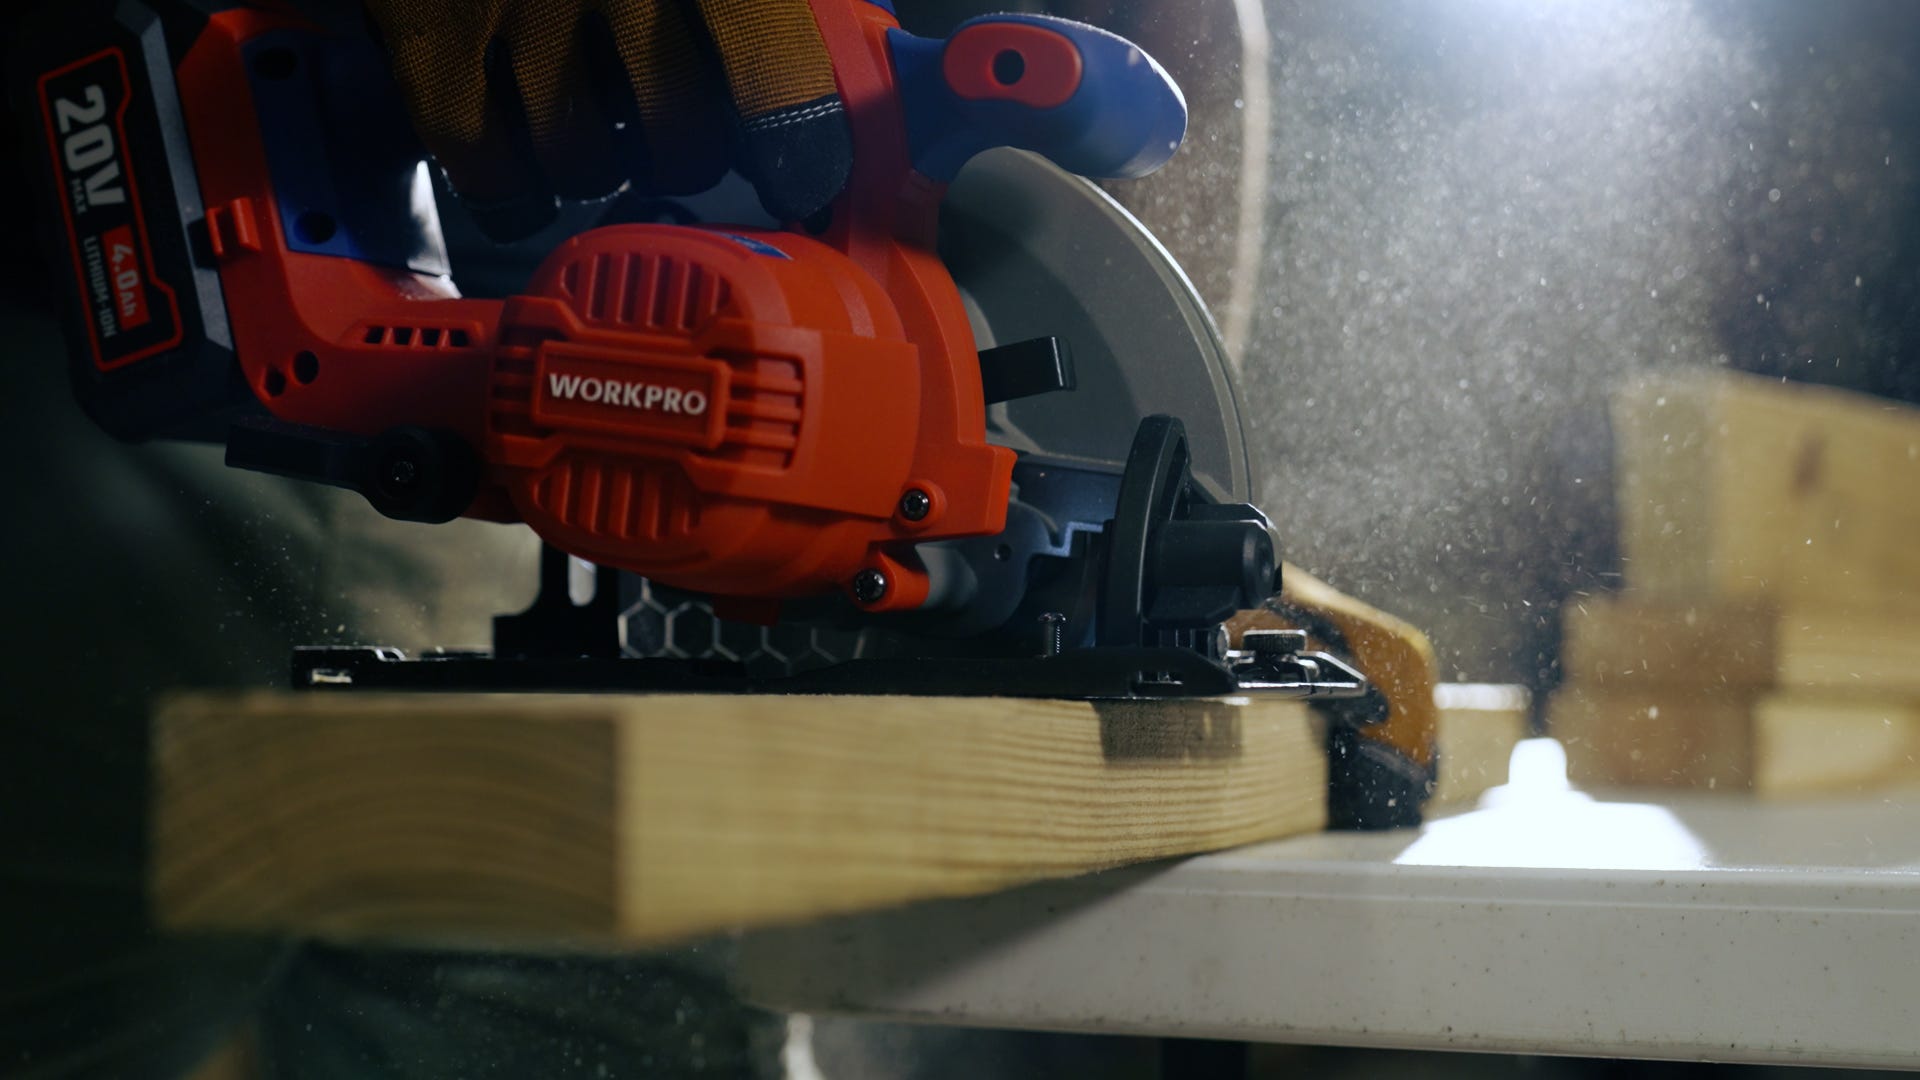
Step 1: Measure & Cut
Start by marking your 2x4 lumber with the correct measurements. You’ll need:
- 3 pieces at 35,43 inch / 90 cm
- 4 pieces at 10,24 inch / 26 cm
- 4 pieces at 16,14 inch / 41 cm
Use a hand saw or circular saw to cut along the markings.
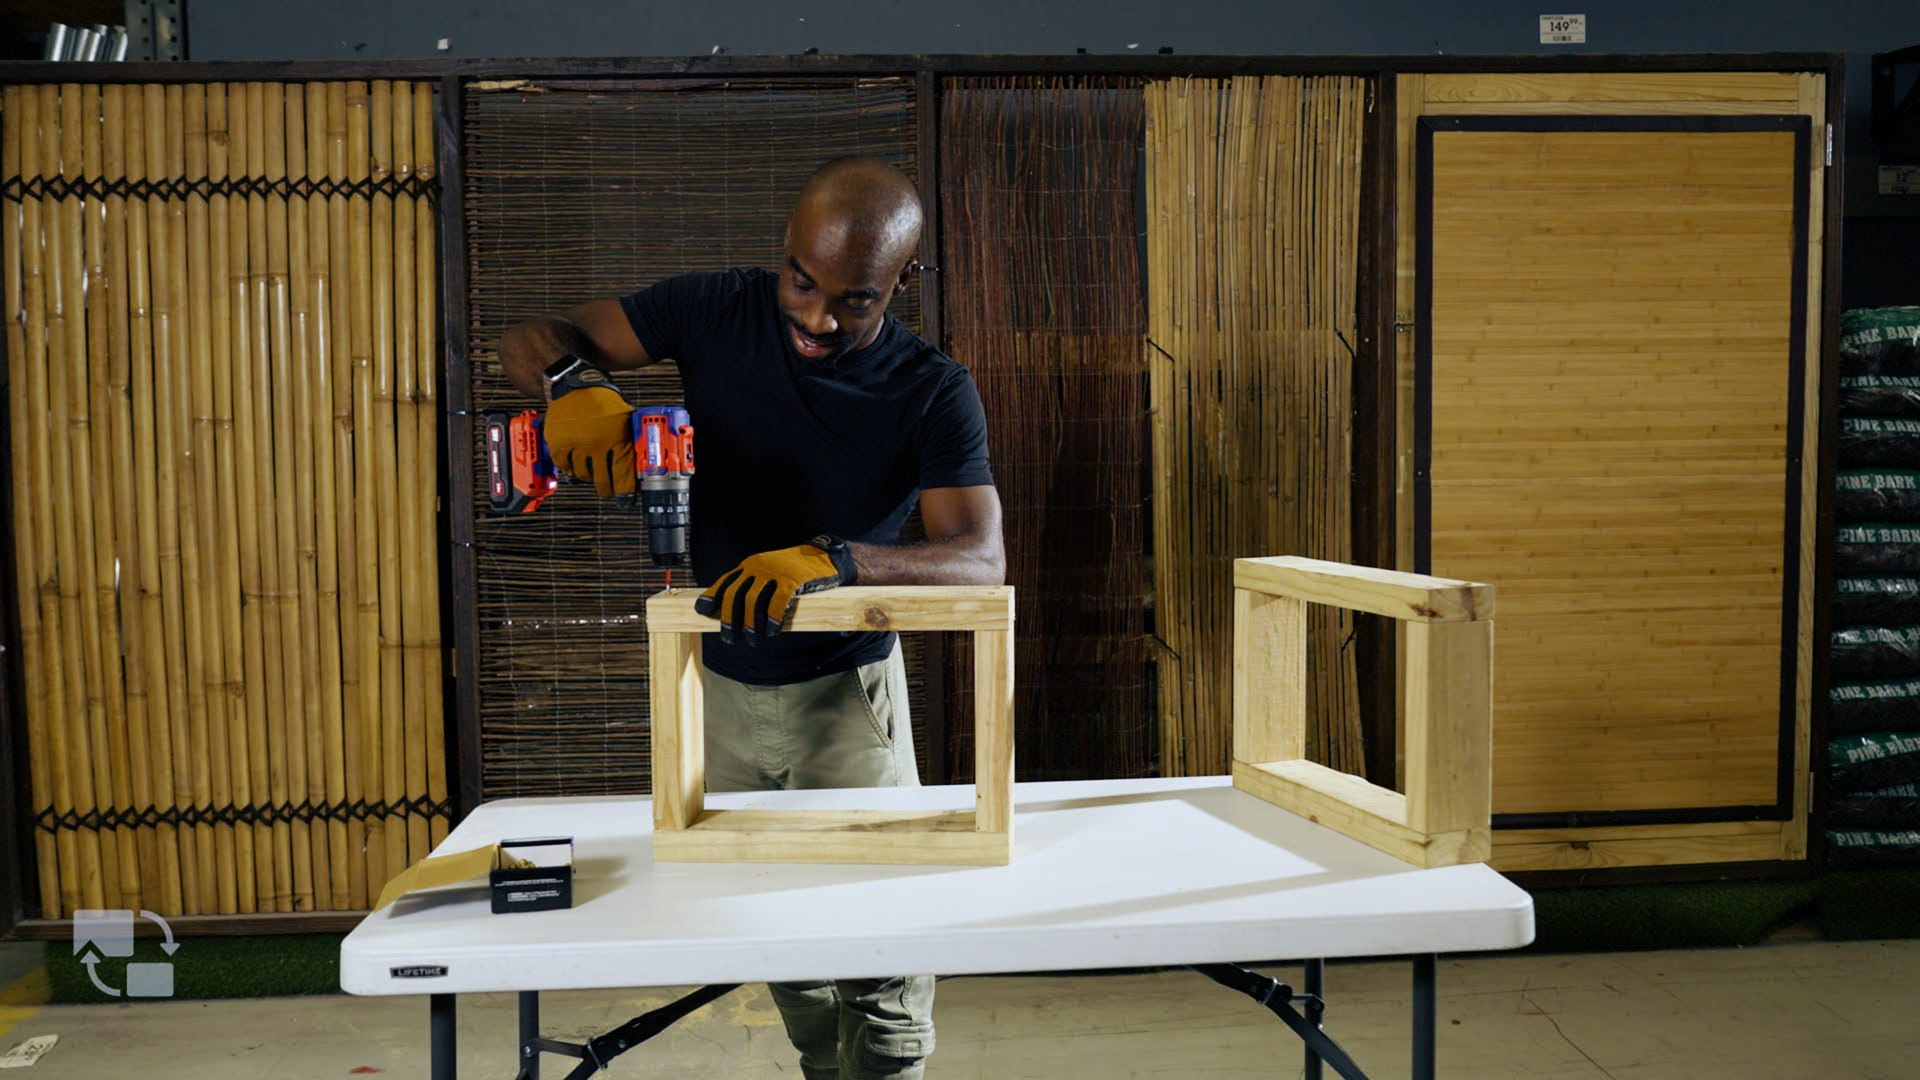
Step 2: Build the Legs
Once your wood is cut to size, it’s time to assemble the legs:
-
Take two 10,24 inch / 26 cm pieces and two 16,14 inch / 41 cm pieces and form a square.
-
Position the shorter pieces on the inside of the longer ones.
-
Secure them with wood screws to create a sturdy frame.
-
Repeat this process to build two identical leg frames.
Step 3: Attach the Seat Planks
Take the three 35,43 inch / 90 cm planks and place them evenly spaced on top of the two leg frames. You can start with the two outer ones and place the third one in the middle, to make sure they’re placed right.
Secure each plank by drilling two screws into each end to ensure stability.
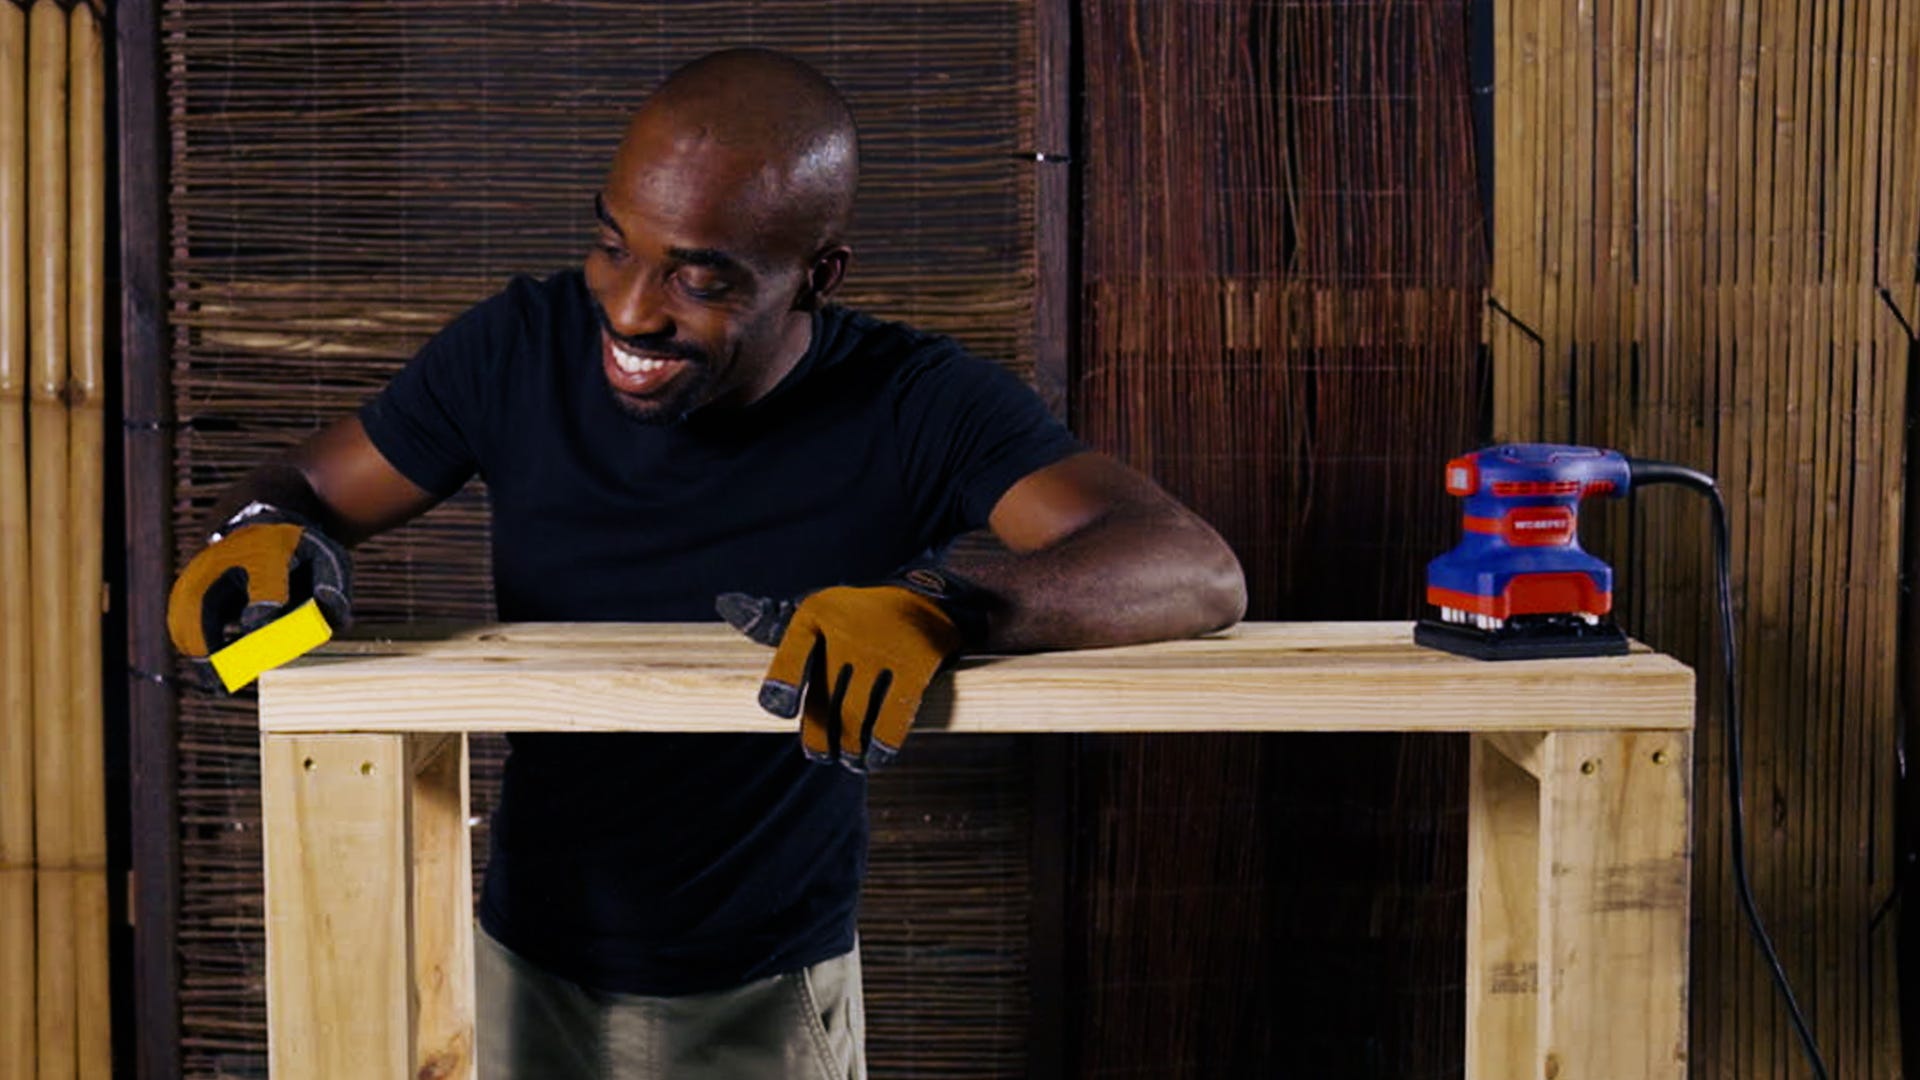
Step 4: Sand for a Smooth Finish
Use an electric sander or a sandpaperblock (80 or 120 grit) and smooth out any rough edges or splinters.
Pay extra attention to corners to make the seat comfortable to sit on.
Step 5: Stain or Paint
Keep it natural for a classic wooden look, or choose a stain or paint to match your style.
Use a painter roller and paint tray for an even finish.
Enjoy Your New Bench!
With just a few materials and simple steps, you've built a sturdy and stylish bench seat, perfect for outdoor gatherings, Carnival celebrations, or extra seating at home.
Want more DIY projects? Follow Kooyman on social media for updates on live workshops, and check out our blog for more ideas, tips, and tricks!
Ready to get started? Watch the full video above and follow the steps!

Featured products
-
 Tax includedItem nr: 100050889
 -
 Tax includedItem nr: 100024261
 -
 Tax includedItem nr: 100034130
 -
 Tax includedItem nr: 100057409
 -
 Tax includedItem nr: 100072429
 -
 Tax includedItem nr: 100036780
 -
 Tax includedItem nr: 100072527
 -
 Tax includedItem nr: 100072519
 -
 Tax includedItem nr: 100010848


