Shopping cart
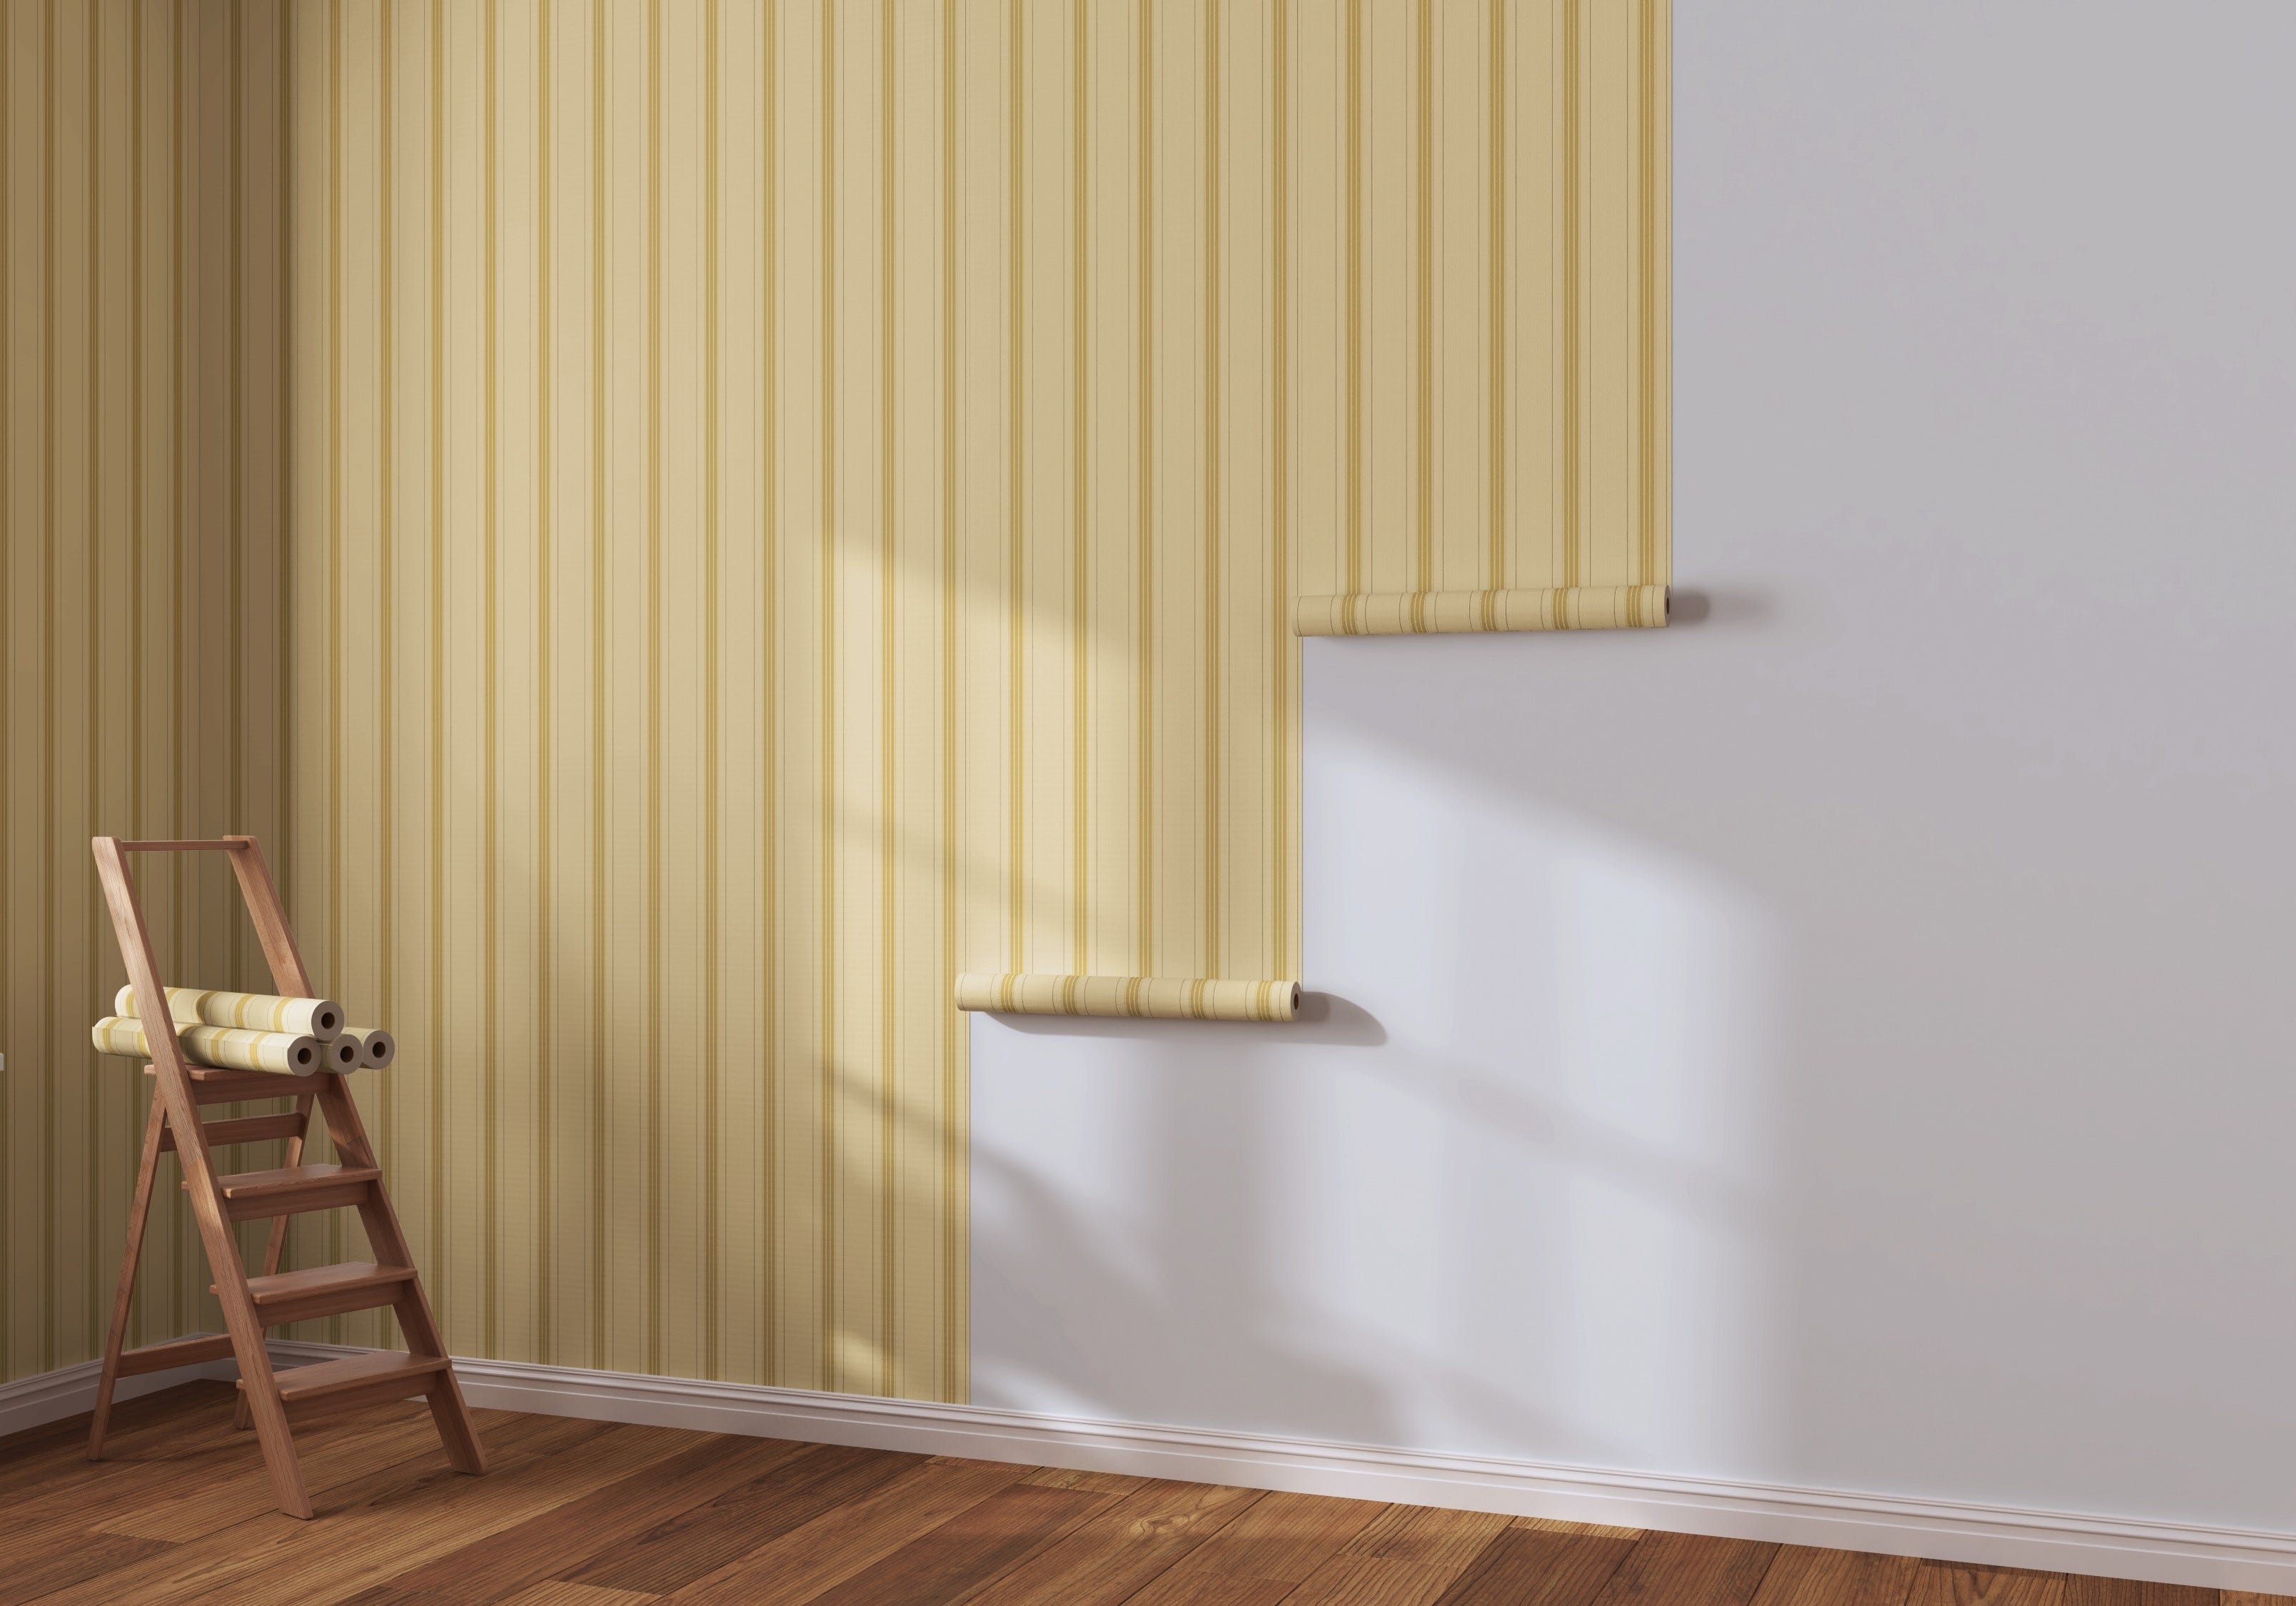
Install Non-Woven Wallpaper
October 14, 2024
Tools
- Ruler
- Utility knife
- Fur roller
- Block brush
Materials
- Wall paper paste
- Non-woven Wallpaper
- Spatula
Step 1
Turn off the power at the sections you are going to work on and remove the outlets and switches. Draw a straight starting line on the wall using a ruler and a long level.
Step 2
Start coating the wall with wallpaper paste. The wallpaper paste goes directly onto the wall with a fur roller or a block brush. The roller ensures spatter-free and uniform application of the wallpaper paste.
Step 3
Start rolling off the first wallpaper track onto the wall, straight along the starting line. Do not cut the Non-Woven wallpaper to size. Just roll off the paper on the wall and then cut the excess material on both ends. The overlapping edges on the ceiling and the baseboards are now pressed in the corners with the spatula and cut with a utility knife along the spatula.
Step 4
Roll off the next wallpaper precisely adjacent to the previously installed wallpaper. Overlaps should be avoided. Press the wallpaper firmly with a wallpaper roller.
If there is a design or pattern then search for this pattern and roll it precisely against the previous wallpaper. When using wallpaper with a pattern you should take into account that you might lose material. The larger the pattern, the more loss you will have.
Step 5
Paste the wallpaper onto the sockets and switches, firmly rub the outline and cut out the middle part.
Non-Woven wallpaper can be easily removed from the wall without residue. This is one of the biggest advantages of this material. Thus, you can often choose and install new wallpaper without the usual big hassle, when using regular wallpaper. The walls are ready for new wallpaper right after removal of the old wallpaper.
Tip: It is important to note that Non-Woven wallpaper is suitable for the Caribbean weather. The heat and moisture will not damage or discolor your wallpaper and ruin your investment.


-

-

-

-

-
 Vulcan 36051 Knife, 3 in W Blade, 8 In L Blade, Stainless Steel Blade, Tapered Blade, Wood Handle, Wood HandleItem nr: 100014655ANG29.99Tax included


